I didn’t always think pedicures were something I could do at home.
For the longest time, I believed it was one of those “treat yourself” moments that had to happen at a salon.
But between busy mornings, school runs with the kids, and trying to squeeze in time with my husband after long days, I realized I needed something simpler—and honestly, more realistic for my everyday life.
One weekend, after we spent a bit more than planned on a family outing (you know how those quick trips somehow turn into a full day of snacks, little purchases, and “just one more stop”), I decided to skip the salon and try doing my own pedicure at home.
I pulled out a few basic items I already had, filled a bowl with warm water, and turned it into a quiet little moment just for myself while the house finally settled down.
What surprised me most wasn’t just how much money I saved, but how relaxing it felt.
No rushing, no appointments—just me, a calm space, and a simple routine that made me feel put together again.
Since then, it’s become one of those small habits I actually look forward to, especially after a long week of being on my feet.
If you’ve ever thought about doing your own pedicure at home but didn’t know where to start, you’re in the right place.
Let me show you the simple tools that made all the difference for me.
Disclaimer: This post may contain affiliate links, which means I may earn a small commission at no extra cost to you. Always follow proper hygiene and safety practices when doing pedicures at home to avoid infections or injury.
Amazon Shopping List: Tools You Need for a Pedicure at Home
- Stainless Steel Nail Clipper Set (Toenail & Fingernail)
- Glass Nail File (Fine Grit)
- Foot File / Pumice Stone for Calluses
- Cuticle Pusher and Cuticle Nipper Set
- Foot Soak Basin / Pedicure Bowl
- Exfoliating Foot Scrub (Dead Skin Remover)
- Moisturizing Foot Cream (Deep Hydration)
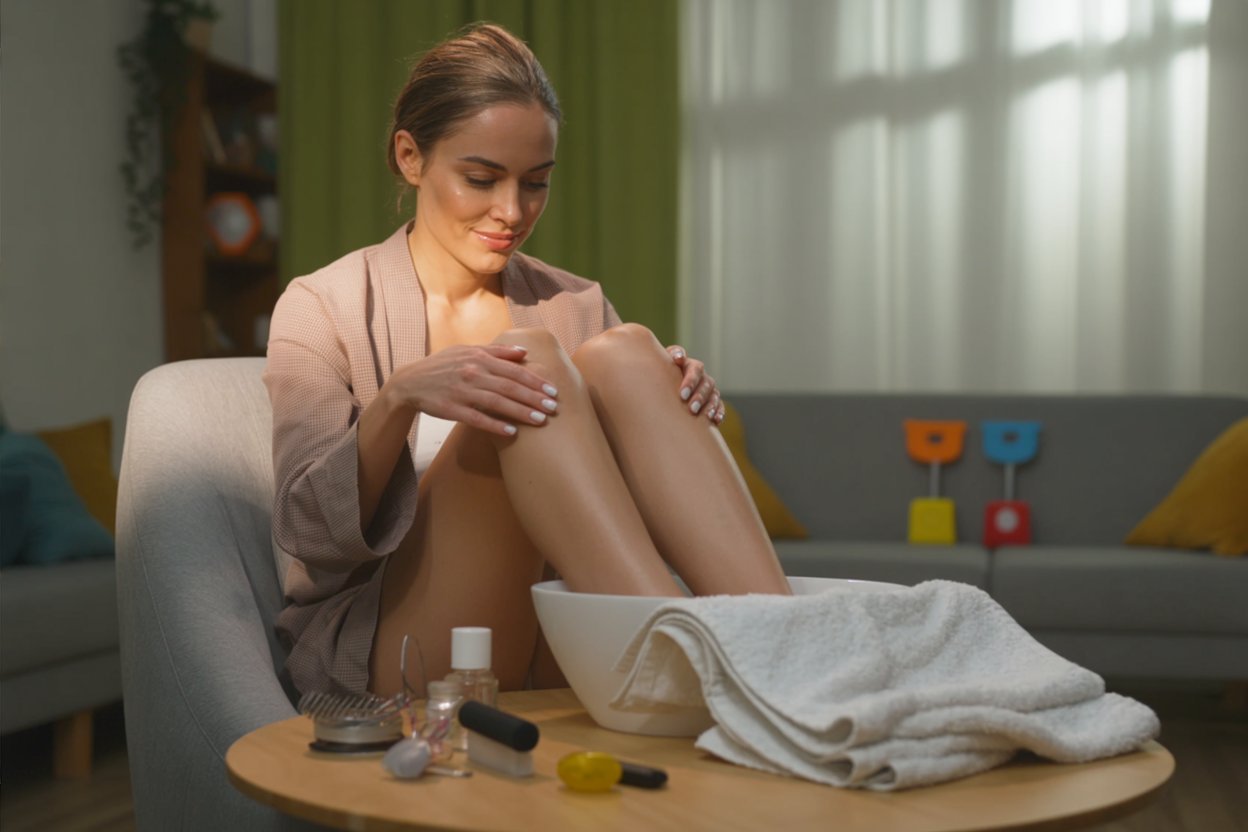
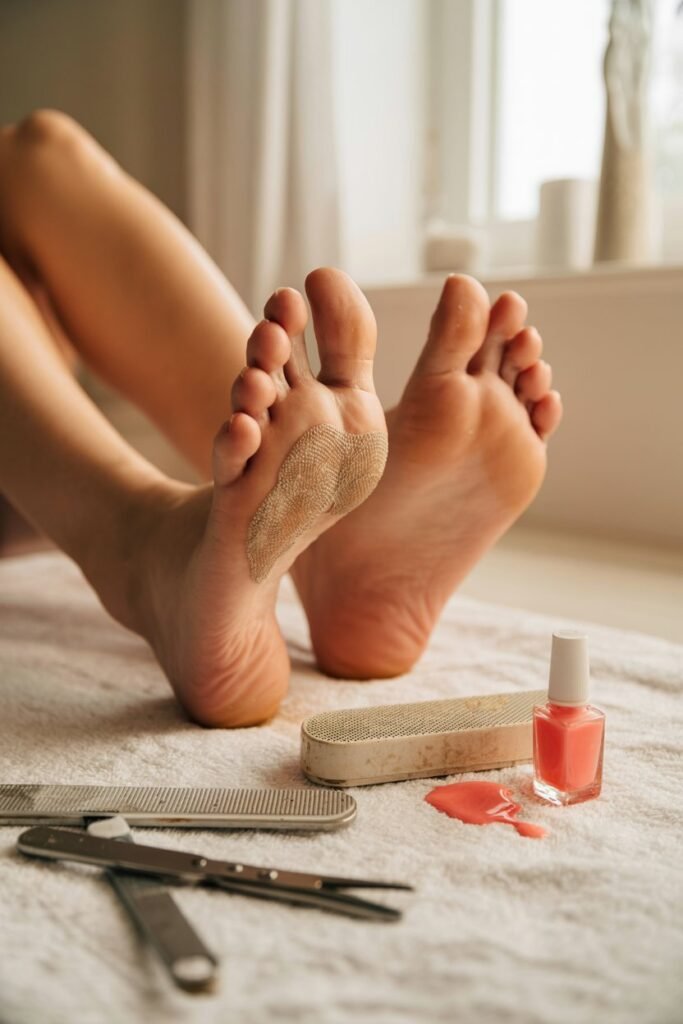
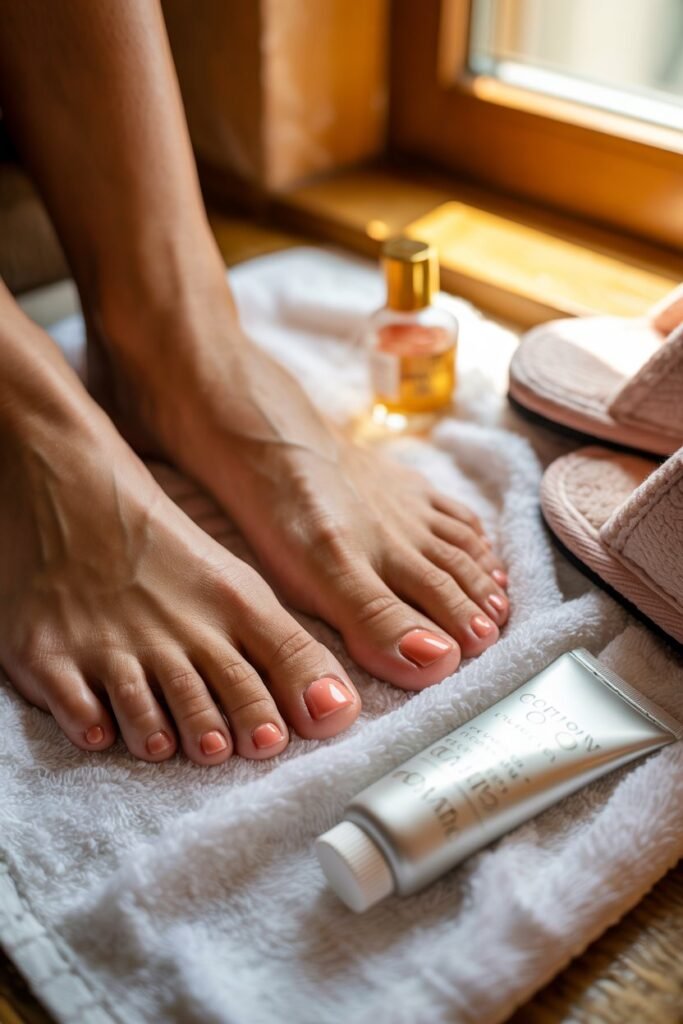
My Real At-Home Pedicure Setup
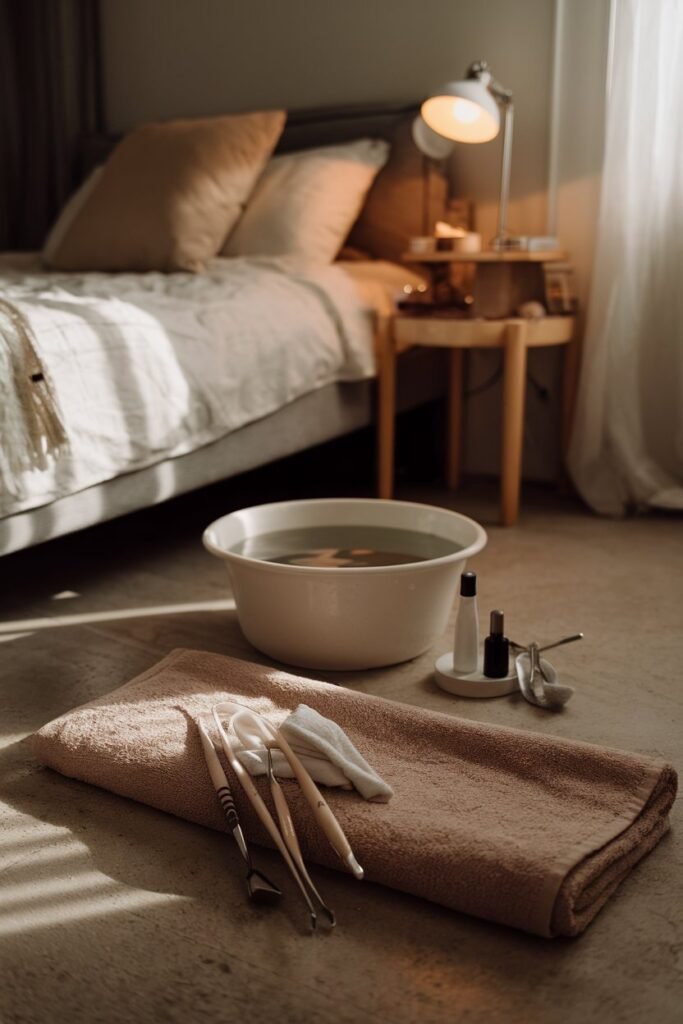
My at-home pedicure setup is very simple. I usually sit in my room or living room after the kids are settled and my husband is relaxing.
I just use a bowl of warm water, a towel, and my basic pedicure tools for home use laid out beside me.
It’s nothing fancy—just a calm little space that helps me enjoy my pedicure at home routine and still get that clean, salon-quality pedicure feel without going to the salon.
How I Get Salon-Quality Pedicures at Home

Doing a pedicure at home has honestly become part of my weekly routine.
Between taking care of the kids, spending time with my husband, and managing everyday expenses, I needed something simple that still gave me that salon-quality pedicure look without the cost.
Now, I just set aside a little time in the evening, grab my at-home pedicure tools, and follow a quick routine that leaves my feet clean, soft, and polished.
It’s relaxing, budget-friendly, and gives me the same results as a professional pedicure at home—just without leaving the house.
Here are the exact tools I use to get that perfect finish every time.
1. Foot Soak Tub

The first thing I always start with is a foot soak tub. This is what makes a real difference in any pedicure at home routine.
Soaking your feet in warm water helps soften the skin, making it easier to remove dead skin and get that smooth, salon-quality pedicure finish.
I usually add a little soap or salt to the water and let my feet soak for about 10–15 minutes.
It’s honestly the most relaxing part and sets the foundation for a professional pedicure at home.
A good soak makes everything else easier and helps your feet feel fresh, clean, and ready for the next steps.
2. Nail Clipper & Nail File.
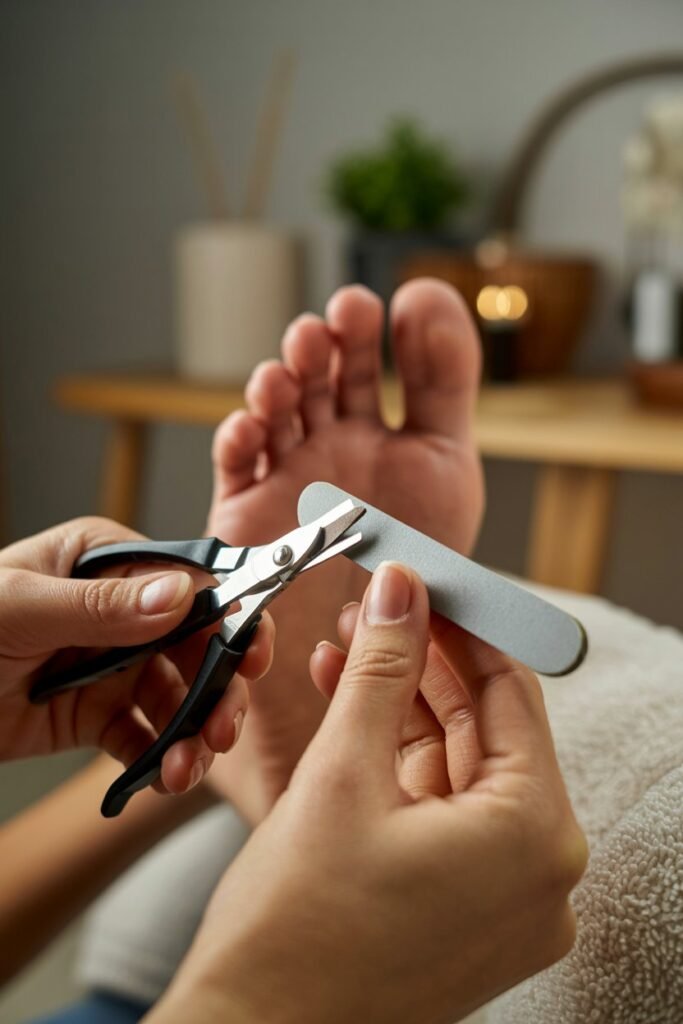
One of the most important steps in a pedicure at home routine is shaping your nails properly with a nail clipper and nail file for pedicure at home.
This is what gives your feet that clean, neat, salon-quality pedicure look.
I always start by trimming my nails straight across using a toenail clipper, then gently shape the edges with a nail file for smooth finishing.
This helps prevent rough edges and keeps everything looking natural and polished.
Doing this correctly is a simple but powerful step if you want a professional pedicure at home without going to the salon.
It makes your nails look even, tidy, and well-groomed in just a few minutes.
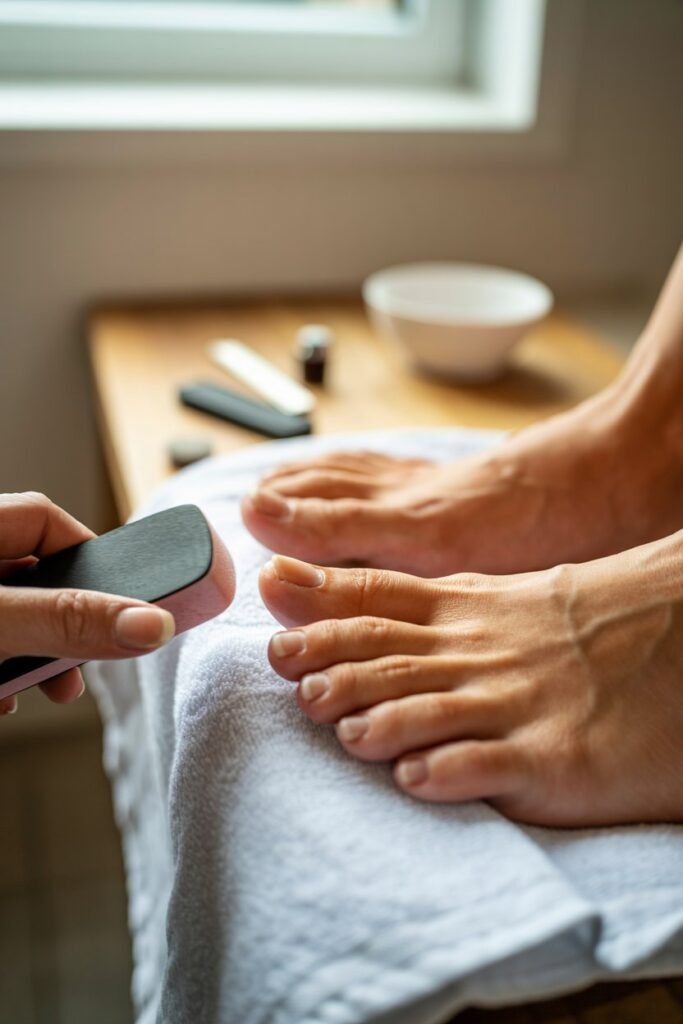
3. Foot Scrub or Pumice Stone
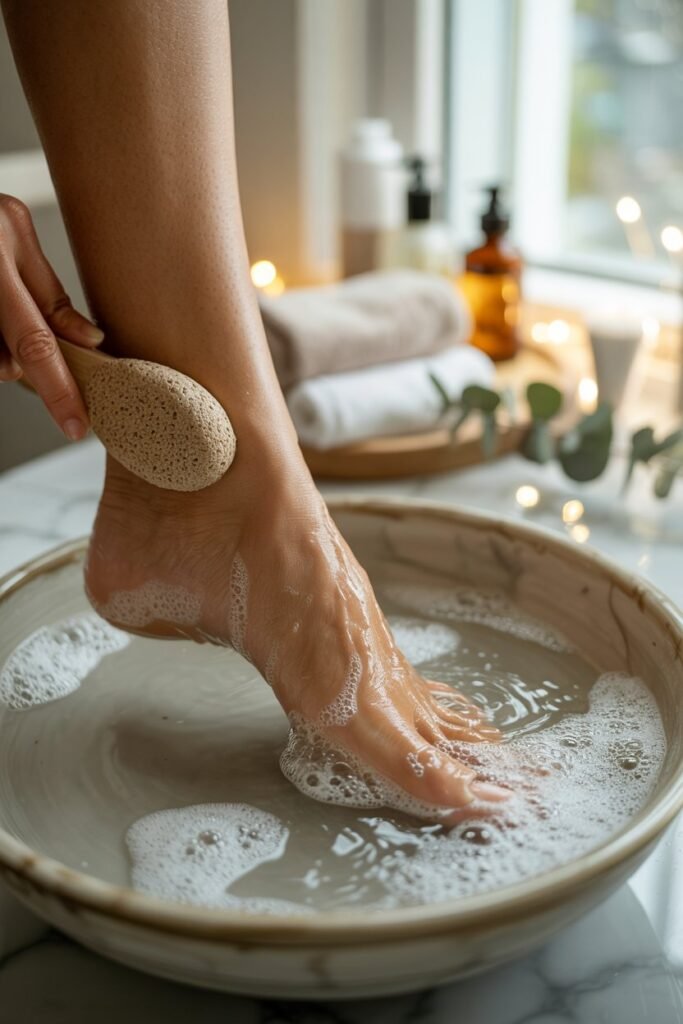
Next, I use a foot scrub or pumice stone for pedicure at home to remove dead skin, especially on the heels and rough areas.
This step is what really gives that smooth, salon-quality pedicure at home feel without going to a salon.
After soaking my feet, I gently exfoliate using a foot exfoliator, foot scrub, or pumice stone for dry feet, focusing on hard or cracked areas.
This helps remove dead skin buildup and instantly improves the texture of my feet.
It’s honestly one of the most important steps for achieving a clean, soft, and professional pedicure at home look.
If you stay consistent with foot exfoliation, your feet will always look fresh, smooth, and well taken care of—just like a real spa pedicure at home routine.
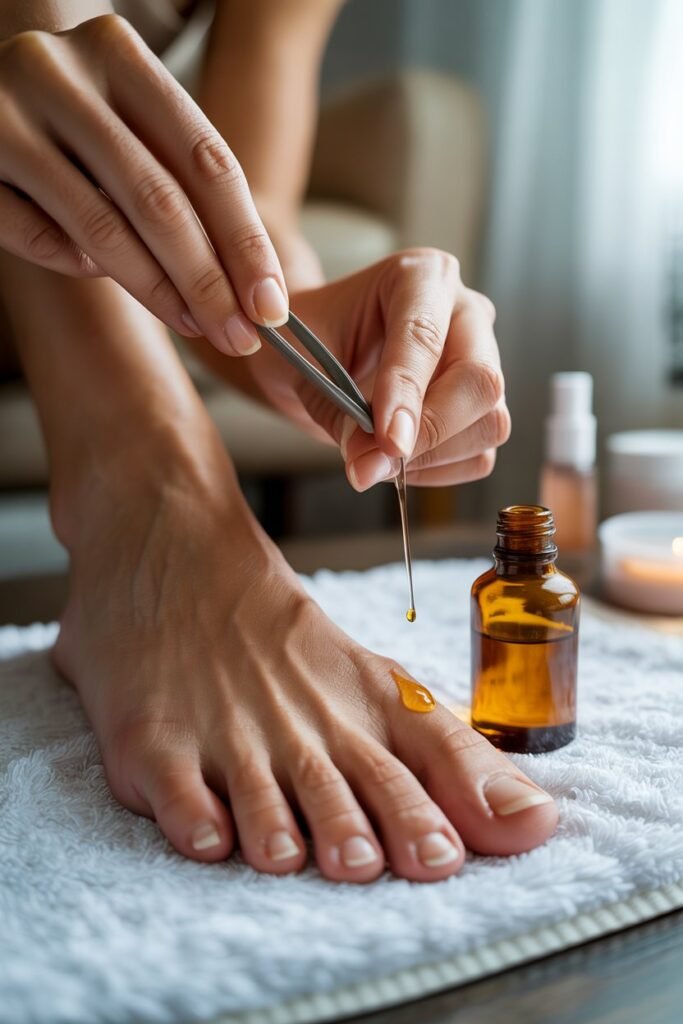
4. Cuticle Pusher & Cuticle Care Oil
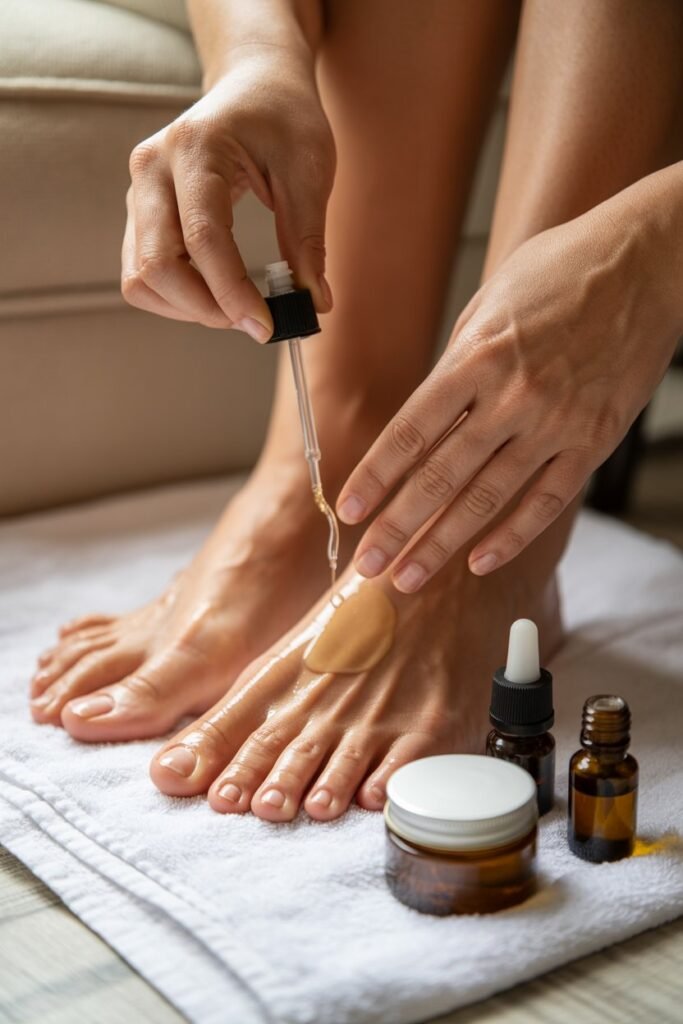
After exfoliating, I move on to cuticle care, which makes a big difference in getting that clean, salon-quality pedicure at home look.
I use a simple cuticle pusher to gently push back my cuticles so my nails look neat and well-shaped.
Then I apply a little cuticle oil for pedicure at home to keep the skin around my nails soft and healthy.
This step helps prevent dryness and gives that polished, professional pedicure at home finish you usually only notice after a salon visit.
It’s a small detail, but it really upgrades your at-home pedicure routine and makes your nails look cleaner, smoother, and more put together.
5. Nail Buffer
After filing, I always use a nail buffer for pedicure at home to smooth out the surface of my nails.
This step helps remove ridges, improves nail texture, and gives a clean, natural shine without needing polish right away.
In my pedicure at home routine, buffing is one of those small steps that makes a big difference in achieving a salon-quality pedicure at home.
It helps the nails look healthier, smoother, and more even.
Using a nail buffer block for toes and toenails also prepares your nails perfectly for polish if you choose to paint them.
When done properly, this step gives a soft, glossy finish that feels very close to a professional pedicure at home without stepping into a salon.
6. Cuticle Oil & Moisturizer
After buffing, I always finish with cuticle oil and foot moisturizer for pedicure at home.
This step is what brings everything together and gives that soft, fresh, salon-quality pedicure at home look.
I massage a little cuticle oil for healthy nails around each nail bed to keep my cuticles soft and prevent dryness.
Then I apply a rich foot cream or moisturizer for dry feet all over, especially on the heels, to lock in moisture.
This part of my pedicure at home routine makes my feet feel smooth, hydrated, and well cared for.
It’s honestly the secret to getting that long-lasting, professional pedicure at home finish that looks like you just left a spa.
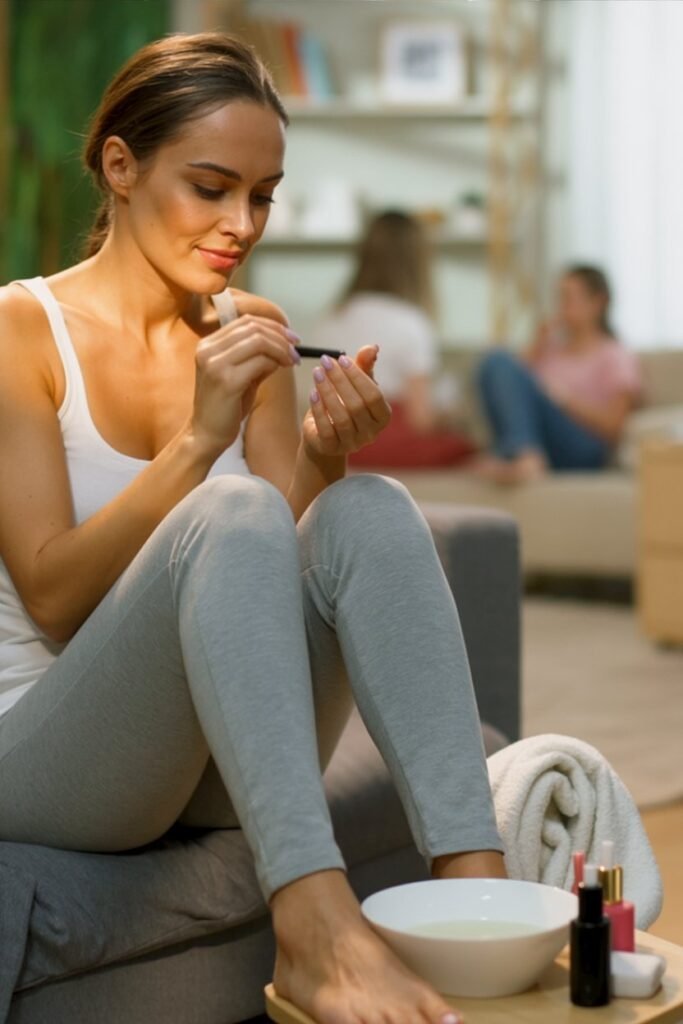
7. Nail Polish & Top Coat
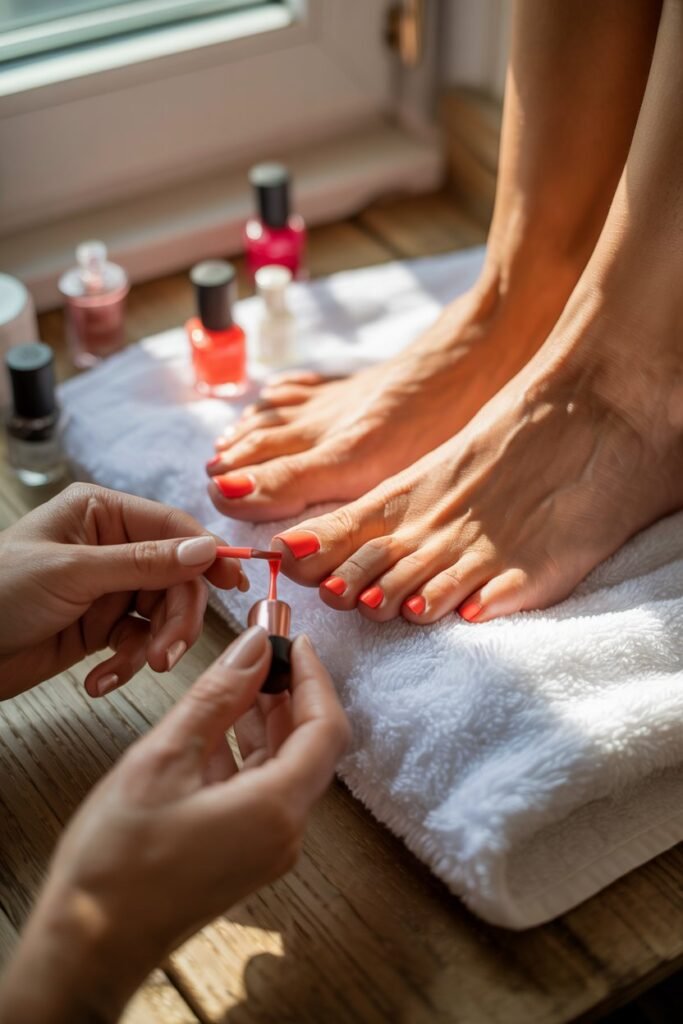
The final step in my pedicure at home routine is applying nail polish and a top coat for a salon-quality pedicure at home.
This is what really brings everything together and gives that polished, finished look.
I usually start with a thin base layer, then apply my favorite toenail polish for at-home pedicure in smooth, even coats.
Once it dries, I seal everything with a clear top coat for long-lasting pedicure at home results to prevent chipping.
This step makes my feet look instantly more put together and gives that fresh, professional pedicure at home finish I love.
It’s simple, but it makes a huge difference in how clean and glossy everything looks.
Common Mistakes I Used to Make During My At-Home Pedicures
When I first started doing my pedicure at home, I made simple mistakes like skipping the foot soak, over-filing my nails, and not moisturizing properly.
These small things stopped me from getting that clean, salon-quality pedicure look.
Once I fixed them and followed a proper at-home pedicure routine, my results looked way more like a professional pedicure at home.
How I Make My Pedicure Last Longer at Home
To make my pedicure at home last longer, I always finish with a good top coat and reapply cuticle oil every few days.
I also make sure my feet stay moisturized to keep that smooth, salon-quality pedicure look.
Wearing slippers at home and avoiding too much water on my toes also helps my at-home pedicure routine stay fresh.
These small habits make my professional pedicure at home last much longer without chipping or dryness.
Budget Breakdown: How Much I Save Doing Pedicures at Home
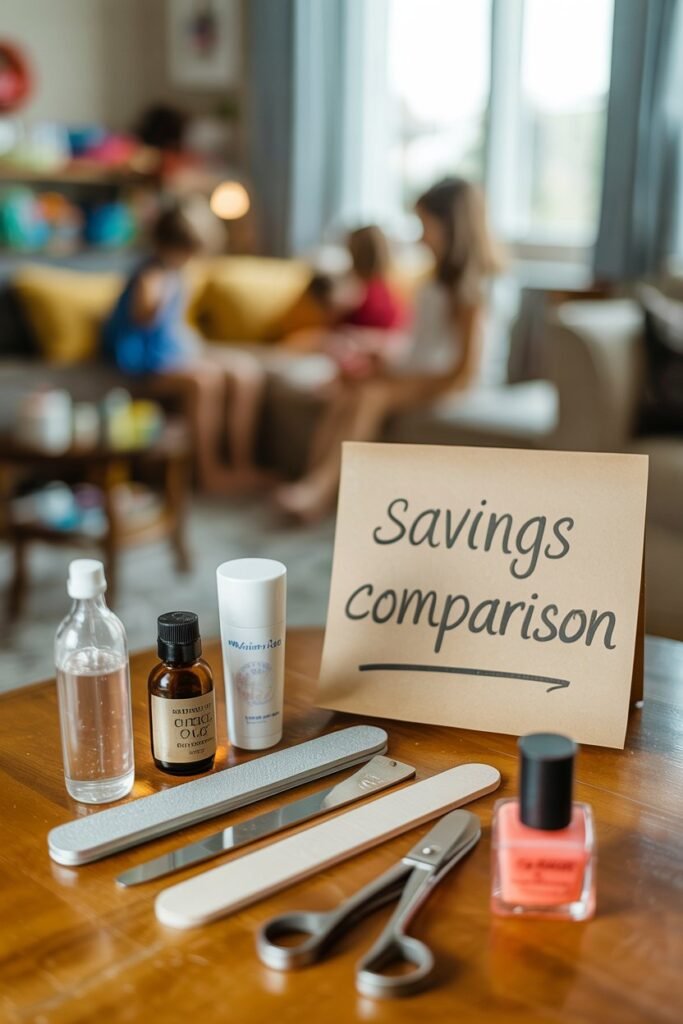
Doing my pedicure at home has saved me a lot compared to going to the salon.
Instead of paying every time, I just bought a few basic pedicure tools for home use once, and I reuse them again and again.
Now, my at-home pedicure routine costs almost nothing each time, but I still get that salon-quality pedicure look.
Over time, this has helped me cut down expenses while still enjoying a professional pedicure at home whenever I want.
Quick 15–20 Minute Express Pedicure Routine (When I’m Busy)
On busy days, I do a quick express pedicure at home that takes about 15–20 minutes.
I skip the long soak and go straight to a fast foot rinse, nail trimming, light filing, and quick buffing using my basic pedicure tools for home use.
Then I apply cuticle oil, a little moisturizer, and sometimes a quick coat of polish for that clean, salon-quality pedicure look.
Even in a rush, this simple at-home pedicure routine still gives me a neat, refreshed, professional pedicure at home feel.
FAQ – Tools You Need for a Pedicure at Home
1. What are the basic tools for a pedicure at home?
The basics include nail clippers, nail file, foot scrub or pumice stone, cuticle pusher, buffer, cuticle oil, and moisturizer.
2. Can I get a salon-quality pedicure at home?
Yes, with the right pedicure tools for home use and a proper routine, you can easily get a salon-quality pedicure at home.
3. How long does a pedicure at home take?
A full routine takes about 30–45 minutes, but a quick express pedicure at home can take 15–20 minutes.
4. How often should I do a pedicure at home?
Most people do an at-home pedicure routine every 1–2 weeks to keep feet soft and clean.
5. What makes a pedicure last longer at home?
Moisturizing regularly, using a top coat, and wearing slippers help your professional pedicure at home last longer.
Final Thought
Doing a pedicure at home has honestly become one of my favorite self-care routines.
It’s simple, affordable, and fits perfectly into my busy life with the kids and my husband.
I don’t need a salon to get that clean, salon-quality pedicure look anymore.
With just a few basic pedicure tools for home use, I can relax, take my time, and still achieve a smooth, polished, professional pedicure at home whenever I want.