Hey guys, welcome back. Today I’m going to lead you through a five-minute arm challenge, and the best part is that you don’t need any equipment for this workout.
All you need is yourself and a small space where you can comfortably stand and move your arms.
This is one of those quick sessions you can squeeze in anytime during your day.
You can do it before work, during a study break, after school, or even right before bed if you just want to get a little movement in before relaxing for the night.
Sometimes people think workouts need to be long and complicated to be effective, but that’s not always true.
Short, focused workouts like this one can still challenge your muscles and help improve strength and endurance.
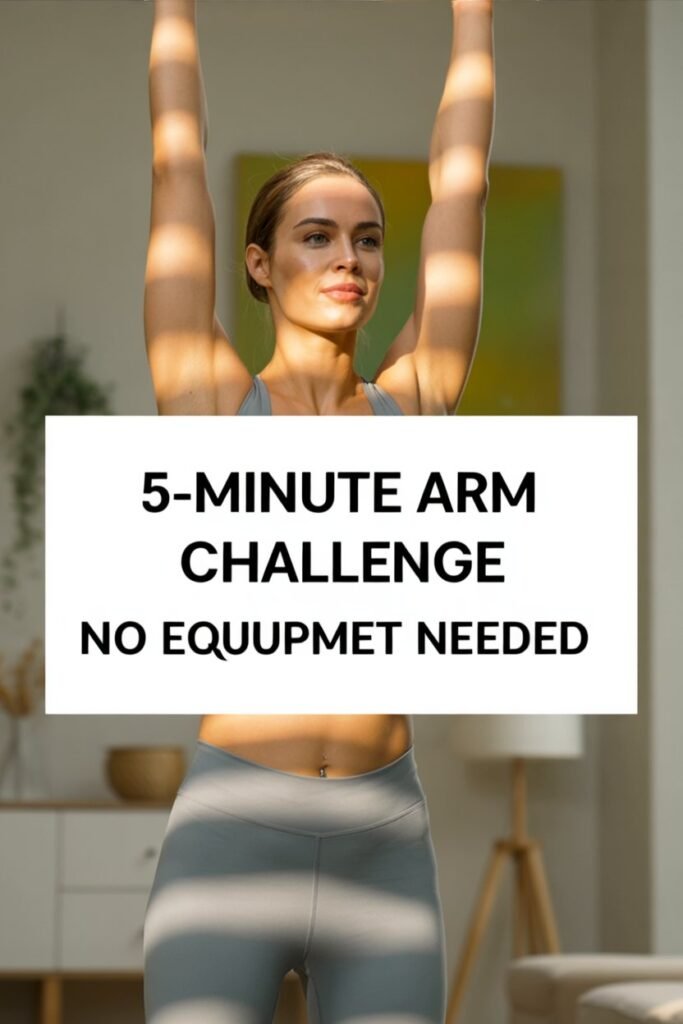
The challenge here is simple but intense: keep your arms lifted and moving for the entire five minutes without dropping them.
It sounds easy at first, but once the burn kicks in, you’ll feel exactly why this short routine is so effective.
Your shoulders will start to warm up, your arms will begin to feel heavier, and you’ll quickly realize how much work your upper body is actually doing.
But don’t worry — we’re going to move through this together step by step.
It’s going to be tough, but we’re gonna get through it together.
Make sure you can see your screen so you can follow along with me and keep track of the movements as they change throughout the workout.
And without further ado, let’s get right into it.
Disclaimer: This post contains affiliate links. If you make a purchase through these links, we may earn a small commission at no extra cost to you.
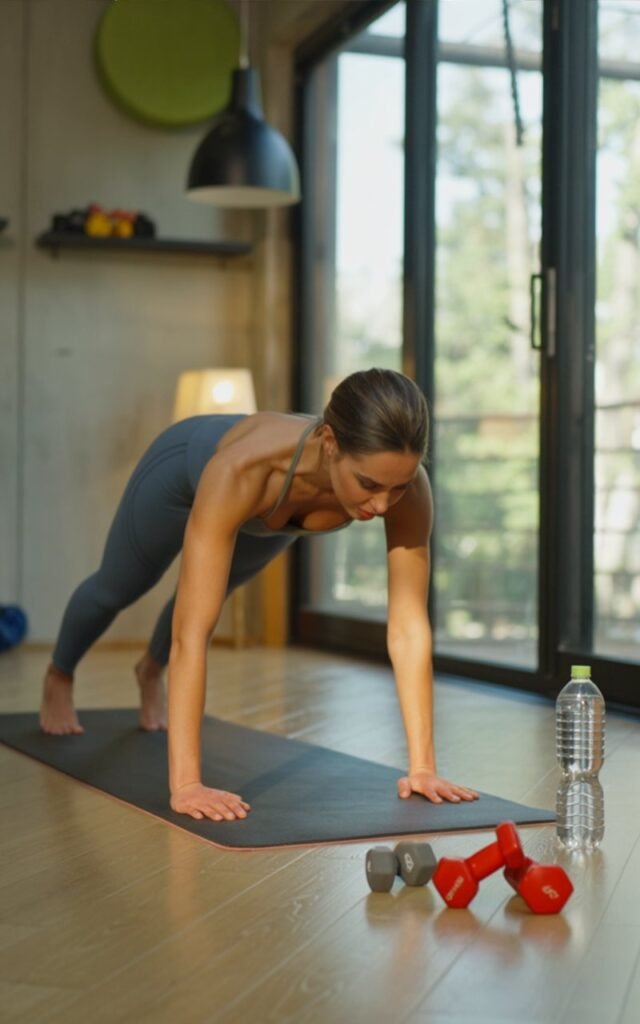
Amazon Shopping List: Arm Toning Workouts
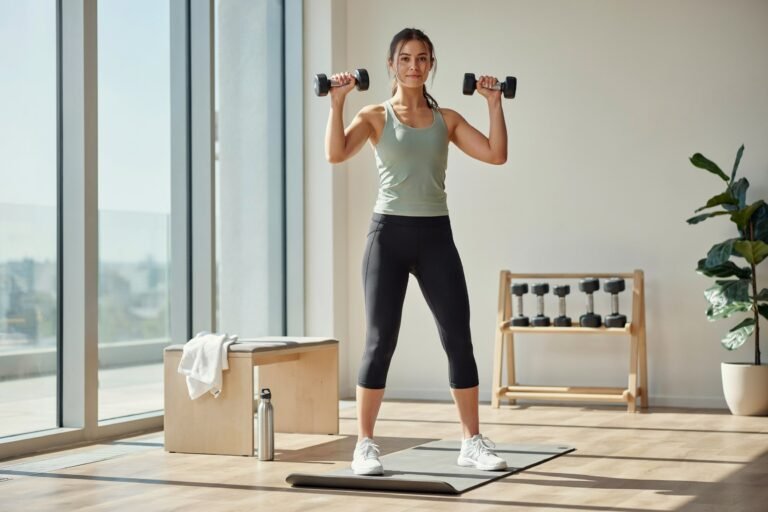
- Adjustable Dumbbells Set
Perfect for strengthening and toning arm muscles during home workouts.
BUY NOW ON AMAZON - Resistance Bands Set
Great for adding resistance to arm exercises and improving muscle definition.
BUY NOW ON AMAZON - Yoga Exercise Mat
Provides comfort and support for floor workouts and bodyweight arm exercises.
BUY NOW ON AMAZON - Adjustable Ankle or Wrist Weights
Adds extra resistance to arm movements for better toning results.
BUY NOW ON AMAZON - Pull-Up & Dip Bar (Power Tower)
Helps build stronger arms and upper body with bodyweight exercises.
BUY NOW ON AMAZON
Warm-Up & Starting Position
Arms Up to the Side
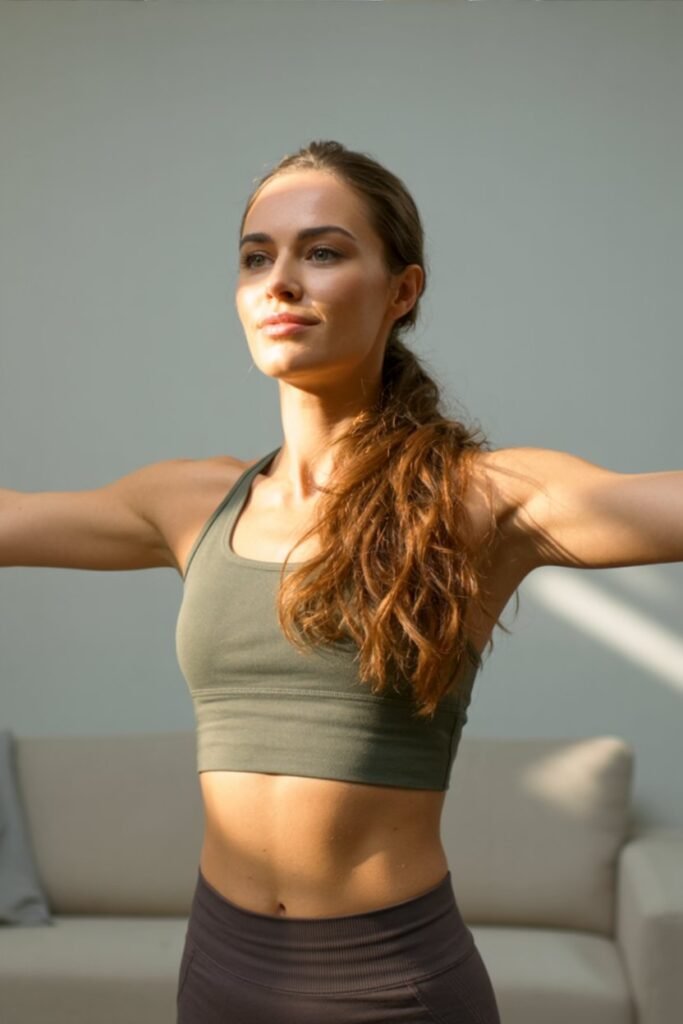
To start, lift your arms straight out to your sides at shoulder height.
Make sure your arms are extended fully and that they form a straight line across your body.
Your shoulders should stay relaxed but lifted enough to support your arms in that position.
Even though this is a simple position, you might already start to feel your shoulders activating.
Holding your arms out like this engages your muscles more than many people expect.
This instantly activates your deltoids and prepares your shoulders, upper arms, and even parts of your core for the upcoming burn.
Standing tall with your arms lifted also encourages good posture. Try to keep your chest open and your back straight while maintaining the position.
Even holding this position engages your muscles more than you think.
C Rotations

We’re starting off with C rotations — tiny, controlled up-and-down movements shaped like the letter “C.”
These are very small movements, but they are extremely effective when done slowly and with control.
Instead of swinging your arms or making big circles, focus on making small, smooth motions that keep your muscles constantly engaged.
Keep these important things in mind while doing this move:
Keep the shoulders lifted
Keep the arms long
Keep the upper back active
The goal here is to warm up your shoulder joints while gradually building tension in your arms and shoulders.
This move warms up your shoulder joints and gradually increases tension in your deltoids, getting your body ready for the tougher movements ahead.
Even though the movements are small, your muscles are already working harder than they were just a few seconds ago.
Strength Phase
90-Degree Arm Raises

Next, bring your arms up into 90-degree angles, elbows bent and raised.
Your elbows should stay lifted at shoulder height while your forearms extend forward.
From here, you’re lowering the arms into a flat, open position and then lifting them back up.
Down and up… slow, smooth, and controlled.
Try not to rush this movement. Moving slowly helps keep tension on the muscles and makes the exercise more effective.
Focus on:
Squeezing your shoulders
Activating your upper back
Keeping your elbows lifted, not dropping
The more control you maintain, the more your muscles will engage throughout the movement.
This exercise strengthens the shoulders, traps, and upper back, improving posture and upper body definition without needing weights.
Related Arm Toning Workouts
- 7-Day Flabby Arm Challenge
- 9 Moves for Sexy Summer Arms
- 100% Guaranteed Arm Flap Workout Update: Slim & Tone Your Arms at Home
- 11 Resistance Band Exercises For Arms — My Daily Routine
Elbows In & Out

Keep your arms lifted at the same height. At this point in the workout your shoulders may already be starting to feel warm, and that’s completely normal.
The key is to keep your arms up and controlled as you move into the next exercise.
Now bring your elbows in toward each other and then pull them back apart.
The movement should feel smooth and controlled. Avoid rushing through the motion.
Instead, focus on moving slowly so your muscles stay engaged the entire time.
Imagine there’s something thick or solid between your elbows that you cannot push through.
This small mental cue helps prevent your arms from collapsing inward and forces your chest muscles to work harder.
As your elbows move toward each other, you should feel your chest tightening slightly.
When you pull them back apart, your shoulders and upper back activate to control the movement.
Remember these key points while doing the exercise:
Keep the arms lifted
Keep your back straight
Keep your core tight
Don’t rush the movement
It might feel tempting to lower your arms for a second, especially once the burn begins to build. Try your best to keep them lifted the entire time.
This is one of the best chest-activating movements you can do without weights.
It strengthens the muscles in your chest and shoulders while also helping build endurance in your upper body.
Even though the movement looks simple, the constant tension in your arms makes this exercise surprisingly challenging.
Mobility + Strength Burner
Now we move into a section that really starts to challenge your endurance.
Your arms have already been lifted for a while, and that continuous tension means your muscles are working harder than they would during a typical short exercise set.
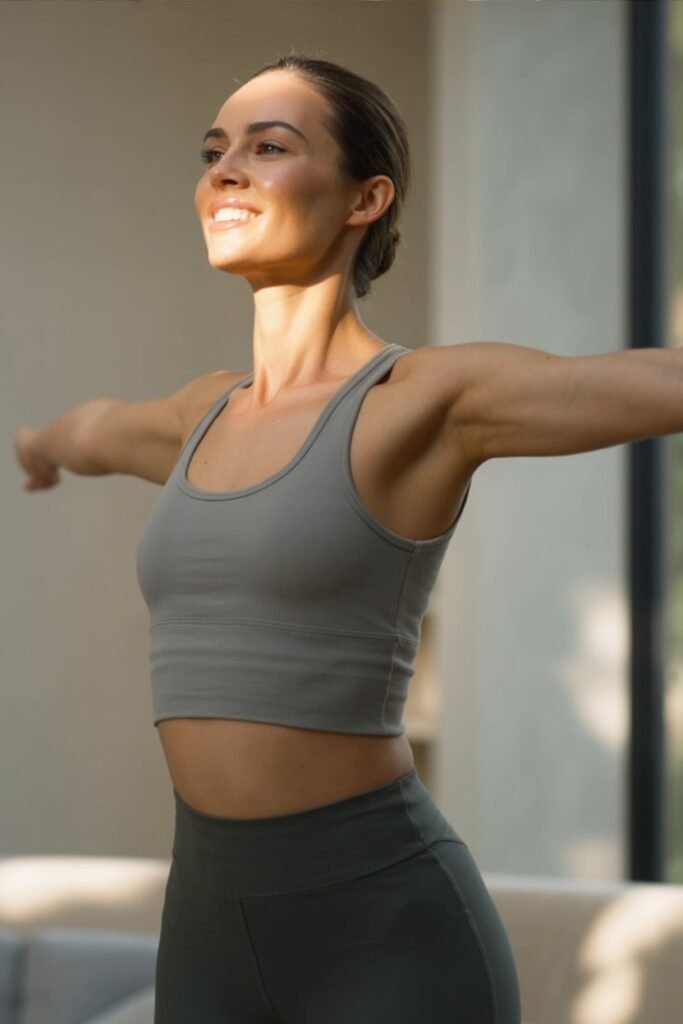
Without dropping your arms, extend them out fully again and begin moving slowly side to side.
Your arms should stay straight and lifted at shoulder height while you gently shift them from one side to the other. Try not to swing your body or lean too far. The goal is to keep the movement controlled and steady.
This is where many people begin to feel the burn increase in their shoulders and upper arms.
That’s a good sign.
This move works your:
Shoulders
Arms
Upper back
Stabilizing muscles in your core
Because your arms stay lifted during the entire motion, your shoulder muscles are constantly engaged. At the same time, your upper back helps stabilize the movement so your posture stays strong.
This is a great mobility movement that also builds endurance in the shoulder girdle.
The longer you maintain the movement, the more your muscles must work to support your arms against gravity.
Keep breathing, stay focused, and remember that every second you hold your arms up is building strength.
Single-Arm Lifts
Next, hold your arms straight out to the side again at shoulder height.
Now lift one arm slightly higher while keeping the other arm steady. After a moment, switch sides and lift the opposite arm.
Continue alternating between arms.
This movement may seem simple, but because both arms stay lifted the entire time, the muscles in your shoulders and upper back continue working without rest.
Make sure to:
Keep both arms lifted the entire time
Avoid letting either arm fall lower than shoulder height
Squeeze your upper back with each movement
When you lift one arm, focus on controlling the motion rather than rushing it. The slower you move, the more your muscles must engage to stabilize your arms.
Even the arm that is not lifting is still working because it has to stay raised and steady.
This isolates each arm individually, helping even out strength imbalances while increasing shoulder stamina.
If one arm starts to feel more tired than the other, that’s completely normal. Most people naturally have a stronger side.
Just keep switching arms and focus on maintaining the lifted position as best as you can.
Backward Arm Circles

Now go into backward arm circles — small, tight, controlled circles with your arms still lifted out to the sides at shoulder height.
Try to keep the circles compact instead of making large swinging motions. The goal here is not speed but control.
When the circles stay small, your muscles remain under constant tension, which makes the exercise much more effective.
Start slowly and focus on the feeling in your shoulders and upper arms as they guide the movement.
Even though the circles are small, your muscles are working hard to keep your arms lifted while moving.
Pay attention to your posture while doing this movement. Stand tall, keep your chest open, and avoid letting your shoulders roll forward.
Focus on:
Tight shoulders
Tight back
Tight core
Controlled breathing
As the seconds pass, you may begin to feel a stronger burn in your shoulders.
This happens because your deltoids have been active throughout the entire workout so far, and they are now working continuously without much rest.
Even though the circles are small, the level of muscle engagement is high.
This is where the burn gets real.
Try to stay relaxed through the neck and breathe steadily while your arms keep moving. The key is staying controlled and keeping your arms lifted.
Shoulder Break (…but not really)
Now we’re going to give the shoulders a tiny break — but not a full one.
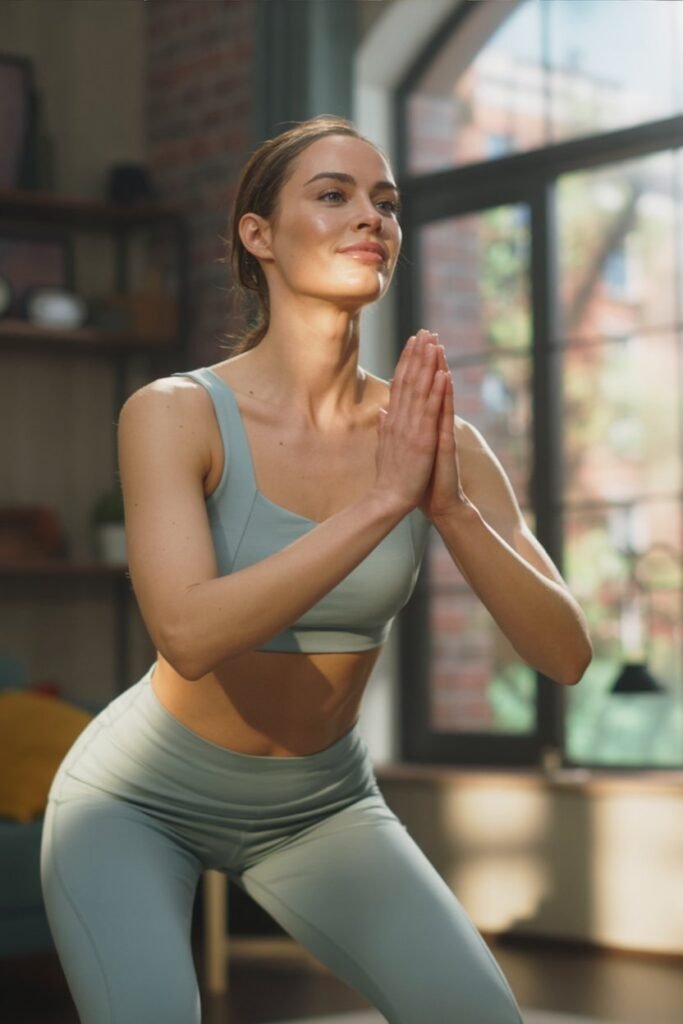
Bring your arms into a prayer position in front of your chest.
Your palms should be pressed together while your elbows and forearms stay lifted.
At first this position might feel easier than holding your arms straight out to the sides, but don’t relax too much. Your muscles are still working here.
From this position, lift your arms up and down while maintaining pressure between your palms and forearms.
The important part of this movement is keeping your palms pressed together firmly. That pressure activates several muscles at the same time.
Even though this movement is meant to ease the shoulders slightly, you’ll still feel the burn because multiple muscles are still engaged.
You are still activating your:
Shoulders
Chest
Inner arms
Upper back
Try not to rush the movement. Raise your arms slowly and bring them back down with control while continuing to press your palms together.
To maximize the movement, press your palms firmly together throughout the entire motion.
The stronger you press, the more your chest and arms will activate.
Back Into Full Burn Mode

Now it’s time to move back into the full burn.
Extend your arms back out to the sides at shoulder height once again.
Your shoulders may already feel tired, but try your best to keep your arms lifted strong and steady.
From here, we go into forward arm circles.
Just like the backward circles you did earlier, keep these circles small and controlled.
Large fast circles can reduce the effectiveness of the exercise, so focus on precision instead.
These circles:
Engage the front of the shoulders
Improve shoulder strength and endurance
Increase heat and burn through the entire upper body
Because your arms have been lifted for several minutes now, this movement will likely feel more challenging than it did earlier in the workout.
Your shoulders, upper arms, and upper back are all working together to maintain the position while your arms continue circling.
You’re almost at the finish line now.
Stay focused, keep breathing steadily, and do your best to keep your arms lifted until the next movement begins.
Final Burn: Weightless Presses

We’ve reached the final 30 seconds of the challenge — this is where you push through the last bit of effort.
Keep your arms lifted at shoulder height and imagine you are holding light weights, even though there’s nothing in your hands.
This visualization helps engage your muscles even more.
Press your arms up above your shoulders and then slowly bring them back down. Repeat this motion continuously for the last 30 seconds.
Focus on:
- Engaging your shoulders
- Activating your chest
- Keeping your back strong
- Controlling every movement
Even though the workout is short, this last exercise helps squeeze every part of your upper body, from shoulders to triceps to upper back.
Think of it as the perfect finisher that makes the previous four minutes even more effective.
The last few seconds might feel tough — that’s the point. Push through until the countdown:
15 more seconds…
10…
5…
And now, finally, drop your arms. You did it! Give yourself a moment to feel the accomplishment. Your arms and shoulders should feel strong, warmed up, and energized.
Cool Down and Final Thoughts
Take a moment to relax your shoulders and shake out your arms.
You’ve just completed a short but intense five-minute arm challenge, and even though it seems quick, your muscles have been working hard the entire time.
Reflect on how your arms feel now compared to the start.
You may notice a pleasant burn in your shoulders and upper arms, a sign that your muscles have been effectively engaged.
If this routine felt manageable, there are ways to make it more challenging:
- Repeat the routine for two rounds
- Push yourself through three rounds
- Add 1–2 pound light weights during the movements
Remember, even small, focused workouts can improve strength and endurance when done consistently.
It’s not always about long gym sessions — short daily bursts of activity like this can make a real difference over time.
Consistency matters more than perfection.
Doing this routine a few times a week will help improve arm strength, shoulder stability, and upper-body endurance.
If you enjoyed this workout and want to see more, make sure to subscribe for updates so you don’t miss future exercises.
And remember, even five minutes of movement is a win for your body.
Great job — see you in the next challenge!