I first heard about the viral gelatin weight loss recipe while scrolling late at night, catching up on wellness trends. Like most people, I was skeptical. Gelatin sounded… bland.
How could a simple gelatin snack possibly help with weight management?
Curiosity got the best of me, and I decided to try it. I started small, just one serving a day, without changing anything else about my routine.
What I noticed first was subtle but meaningful: I felt fuller between meals, bloating decreased, and my digestion seemed calmer.
These small wins were enough to make me take it seriously.

Over time, I developed my own version of the recipe that fits seamlessly into my day.
It’s simple, nourishing, and doesn’t feel like a diet hack.
It’s a habit that supports my body without stress or extremes.
In this post, I’ll share everything I’ve learned: why this gelatin recipe works, how I prepare it, when I consume it, and how it fits into a lifestyle that actually supports weight management and gut health.
Disclaimer: This post contains affiliate links. If you make a purchase through these links, we may earn a small commission at no extra cost to you.
Amazon Shopping List: Viral Gelatin Weight Loss Recipe | Easy, Healthy & Delicious
- Gelatin Powder (Unflavored)
Perfect for making healthy, low-calorie gelatin desserts at home.
BUY NOW ON AMAZON - Measuring Cups & Spoons Set
Helps you accurately measure ingredients for consistent gelatin recipes.
BUY NOW ON AMAZON - Silicone Gelatin Molds
Makes portioned, fun-shaped gelatin treats easy to remove and serve.
BUY NOW ON AMAZON - Natural Fruit Juice (No Sugar Added)
Adds flavor and nutrients to your homemade gelatin recipes.
BUY NOW ON AMAZON - Mixing Bowls Set
Essential for preparing and mixing all ingredients smoothly.
BUY NOW ON AMAZON
Why I Love Making This Recipe
Making this gelatin recipe has become more than just a weight-support habit for me, it’s a small ritual that makes me feel cared for.

I love that it’s simple and stress-free. Some wellness trends feel complicated or intimidating, but this one only takes a few minutes to prepare. There’s no overthinking, no measuring dozens of ingredients, just a moment of intention.
I also love how creative it can be. I experiment with herbal teas, citrus, and warming spices like cinnamon or ginger. Each variation feels like a mini self-care treat, and I genuinely look forward to it.
The recipe also reminds me to slow down and connect with my body. Pouring the hot liquid, stirring the gelatin, watching it set—these small actions are meditative. I savor the process, not just the result.

Most of all, I love that it’s effective without being extreme. It supports my digestion, reduces bloating, and helps me feel full, all without forcing restriction or unrealistic expectations. It’s a gentle, sustainable way to honor my body.
Making this recipe consistently has turned it from a simple snack into a mindful moment of wellness I genuinely enjoy every day.
Why Gelatin Supports Weight Loss
Before I tried this recipe, I didn’t fully understand how gelatin could be helpful. I assumed it was just another trend. After some research and experimentation, I realized its benefits are subtle but powerful.
Gelatin is derived from collagen, which is packed with amino acids like glycine and proline. These aren’t just for your skin—they play a crucial role in digestion, gut health, and muscle support.
Here’s how it can make a difference:
Satiety and appetite control: Gelatin is nearly pure protein. When I consume it before a meal or in the evening, I notice I eat a little less naturally because my stomach feels satisfied. It doesn’t feel restrictive; it just helps my body signal fullness.
Supports digestion: I used to struggle with bloating, especially in the evenings. Since adding gelatin, my stomach feels lighter, and digestion seems smoother. Collagen supports the gut lining, helping food move efficiently and reducing discomfort.
Blood sugar stabilization: When I eat a high-carb meal, I often felt sudden energy crashes. Gelatin digests slowly and provides protein without spiking blood sugar, which keeps my cravings in check.
Low-calorie, high benefit: One serving is very low in calories but surprisingly filling. For me, it feels like a small, satisfying treat that doesn’t derail my daily eating habits.
It’s important to be clear: gelatin doesn’t magically burn fat. What it does is support habits that naturally reduce overeating, improve digestion, and keep energy levels steady.
Related Healthy Weight Loss Recipes And High Protein Meal
- Weight Loss Soup: Healthy Cabbage & Cauliflower Crockpot Recipe
- 30g Protein Breakfast Recipes
- 11+ Healthy Weight Loss Recipes That Taste Really Good
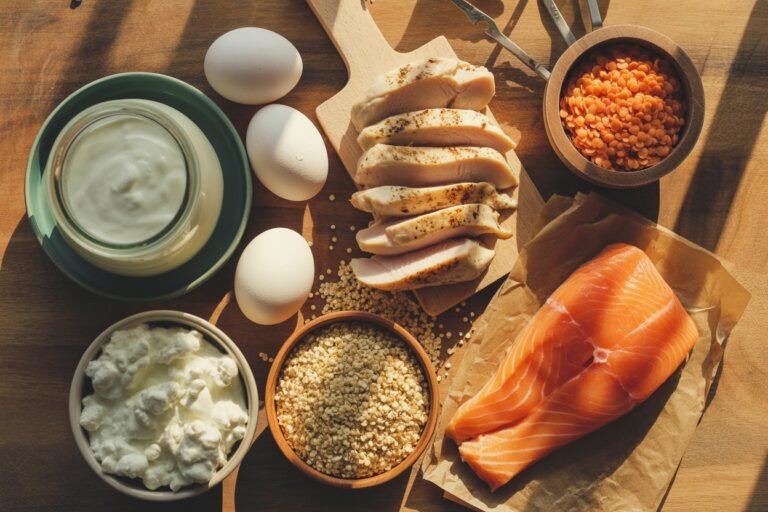
Ingredients You’ll Need
I like to keep this recipe simple, using ingredients that are easy to find but also support digestion, metabolism, and fullness. Here’s what I use every time:

- Gelatin powder 2 tablespoons. This is the base that helps the mixture set and gives it that satisfying, wobbly texture. I always choose grass-fed, unflavored gelatin for the best results.
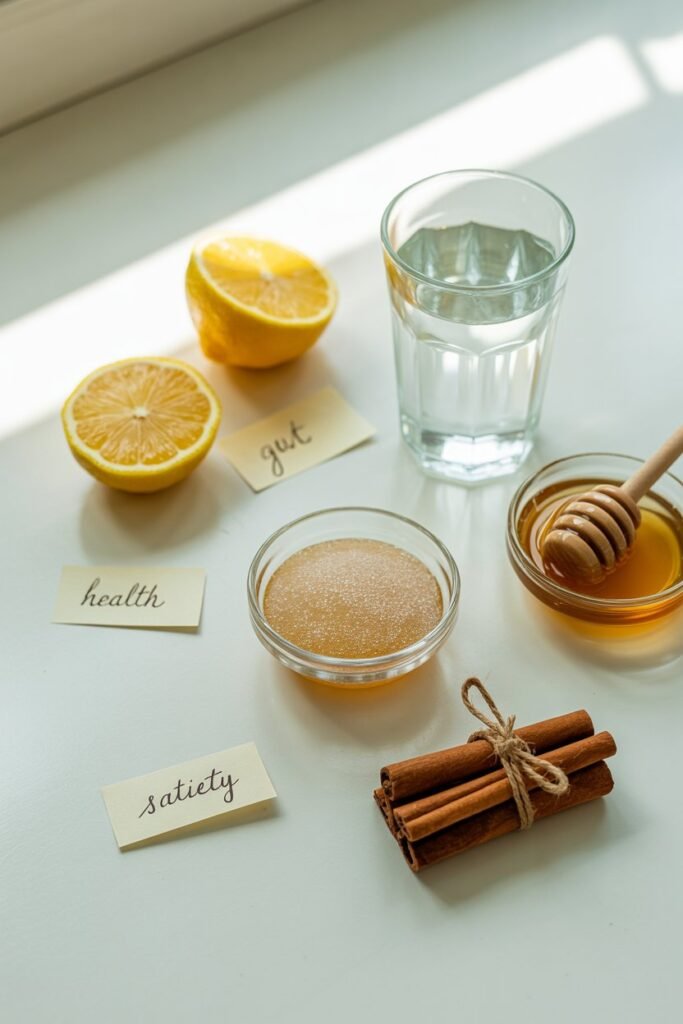
- Water 1 cup. Filtered or distilled works best to keep the flavor pure.
- Natural sweetener 1 to 2 teaspoons. I usually use honey or maple syrup, but stevia works well if you want a low-calorie option.
- Lemon juice 1 tablespoon. Adds a refreshing zing and supports digestion.
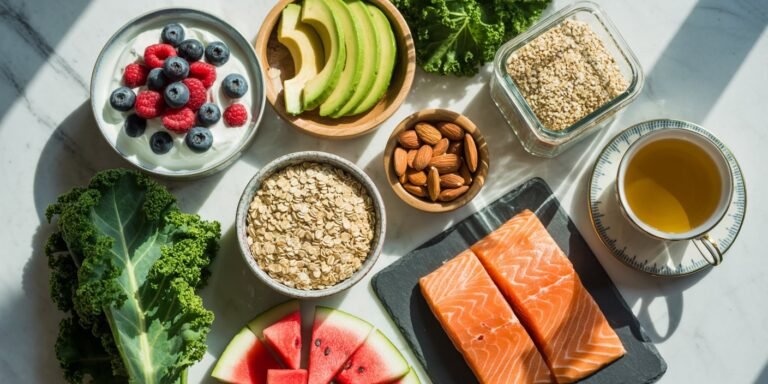
- Optional flavor boosters
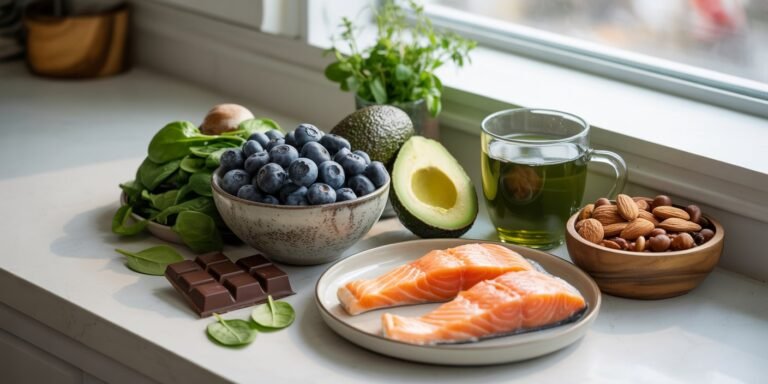
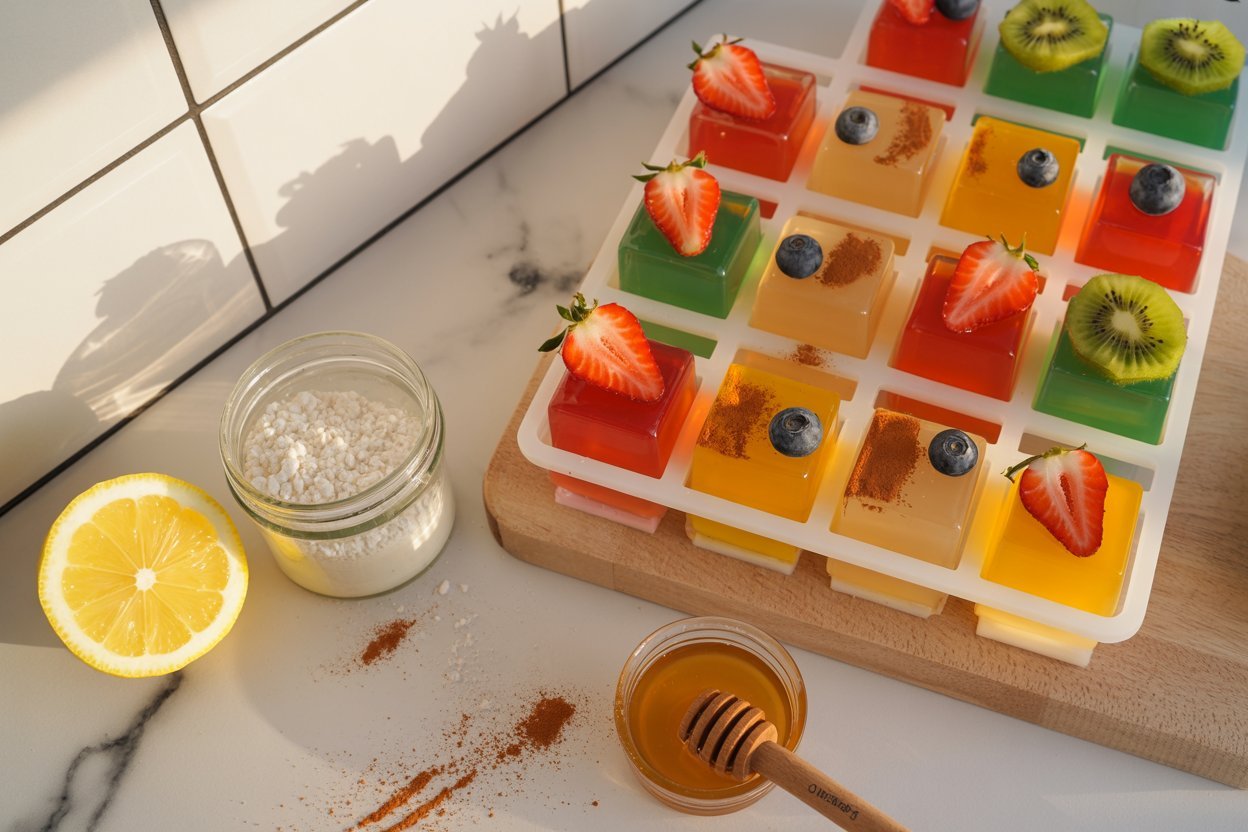
- Fresh fruit slices such as strawberries, blueberries, or kiwi
- Herbal teas such as green tea, hibiscus, or chamomile for extra antioxidants
- Spices such as cinnamon, ginger, or turmeric for metabolism support
I love how flexible this recipe is. You can adjust the sweetness, flavors, or add-ins depending on your mood or what your body needs that day. For me, that is part of the fun. I never get bored of it.
How I Make My Viral Gelatin Weight Loss Recipe
Making this gelatin has become a small ritual for me. It is not just about the recipe. It is about creating a healthy snack that feels indulgent, colorful, and satisfying. Here is exactly how I do it
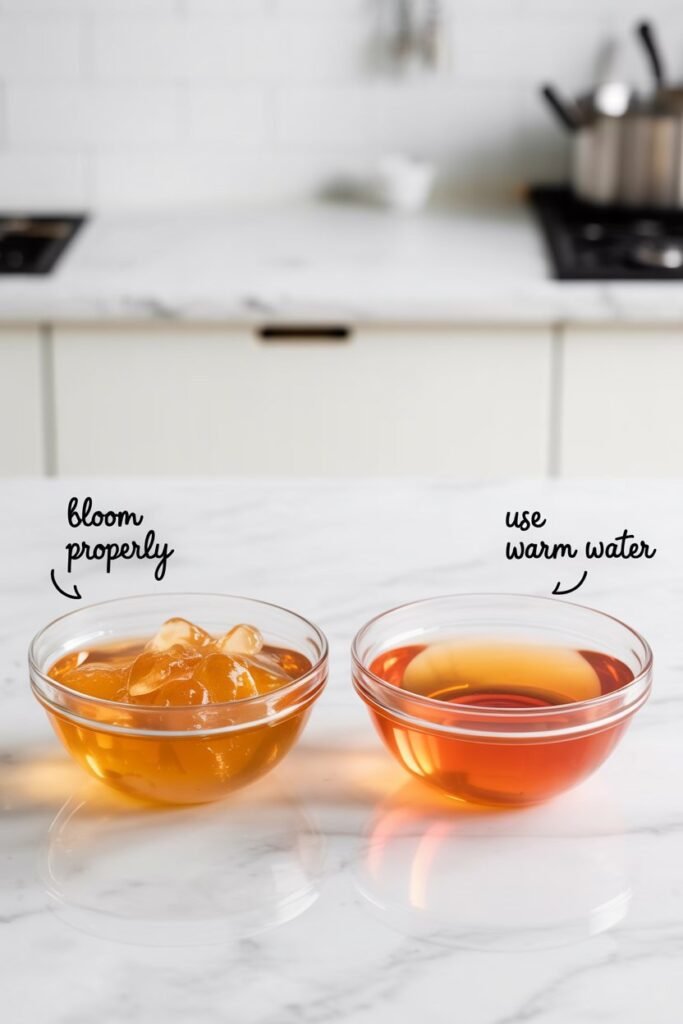
Step 1: Bloom the Gelatin

I start by sprinkling the gelatin powder evenly over half a cup of cold water. I let it sit for five minutes. This is called blooming. It allows the gelatin granules to absorb water, which ensures a smooth set texture later
I stir gently once or twice while it blooms. This step makes a noticeable difference. If I skip it, clumps often form later.
Personal tip: Use a clear glass bowl. Watching the powder swell and transform into a jelly-like texture is satisfying
Step 2: Heat the Liquid
While the gelatin blooms, I heat the remaining half cup of water.
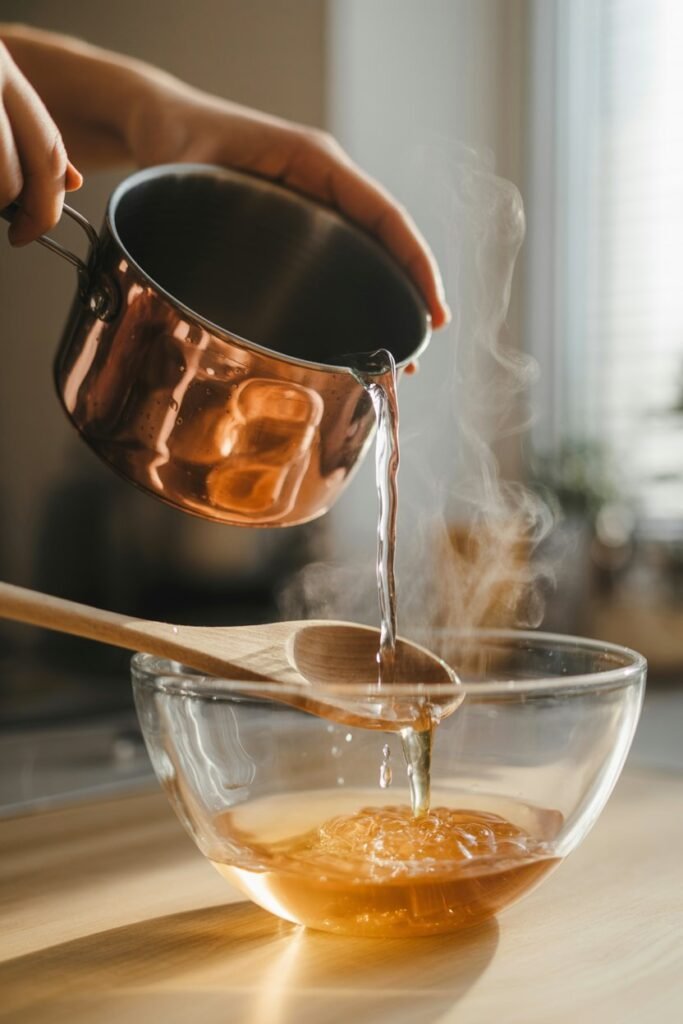
I keep the heat low so it is warm but not boiling. Boiling can reduce some of gelatin’s beneficial properties
I pour the warm water slowly into the bloomed gelatin while stirring constantly. This prevents lumps and keeps the mixture silky smooth
Personal tip: Stir in a circular motion while thinking about the flavors you will add next. It makes the process more mindful and enjoyable
Step 3: Sweeten and Flavor
Now I add a sweetener. Sometimes I use a teaspoon of honey, other times stevia or maple syrup.

Then I add flavor boosters such as freshly squeezed lemon juice, a pinch of cinnamon, or a few drops of vanilla extract
I taste a small amount to make sure the flavor is balanced. This step lets you personalize sweetness and tanginess exactly to your preference
Personal tip: Adding green tea powder or matcha provides a metabolism boost and turns the gelatin a pretty green color
Step 4: Add Optional Extras

This step is where the gelatin becomes uniquely yours. I often add small slices of fresh fruit like strawberries or kiwi.
I sometimes add chia seeds, flax seeds, or edible flowers for decoration
Personal tip: Sprinkling lavender or rose petals makes the snack feel luxurious. Little touches make eating it more enjoyable
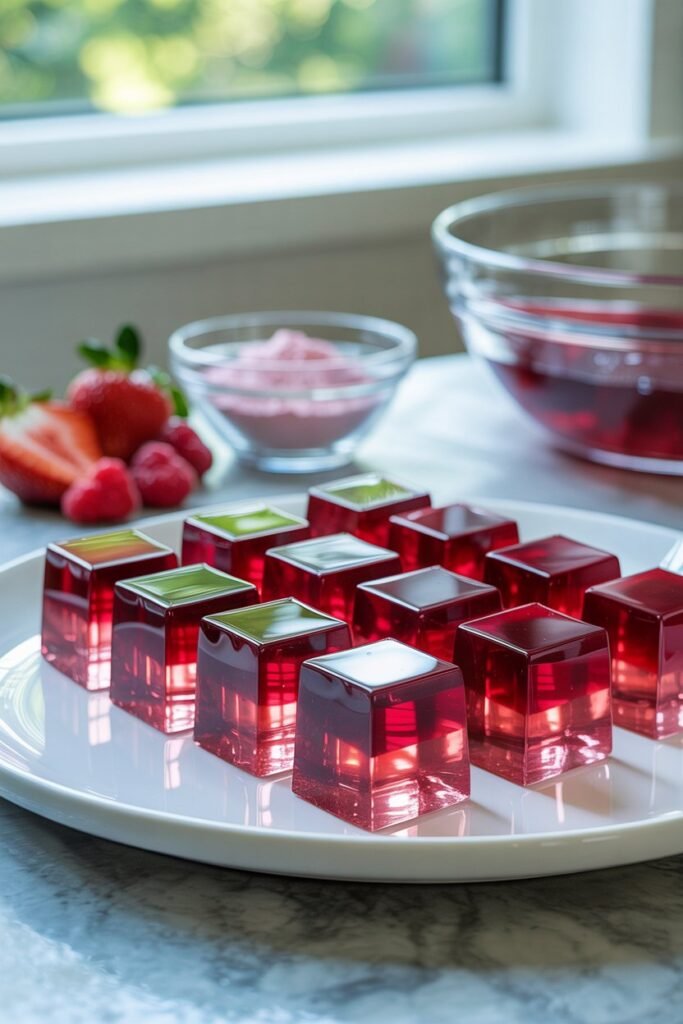
Step 5: Pour Into Molds

I pour the mixture into silicone molds or a small dish. Using molds is fun and makes portion control easy
Before refrigerating, I smooth the top with a spoon or spatula for an even finish
Personal tip: Try different shapes depending on your mood or season. Hearts, stars, or simple cubes make the process playful
Step 6: Chill Until Set

I cover the molds and place them in the refrigerator for two to three hours.
This allows the gelatin to set completely
Personal tip: I usually prepare it in the evening so it is ready the next morning. Patience ensures the right texture
Step 7: Serve and Enjoy
Once set, I carefully remove the gelatin from the molds. It should be firm but soft, slightly wobbly, and smooth
Sometimes I sprinkle extra spices or fruit on top before eating. I always pair it with a glass of water to enhance digestion and increase satiety
Personal tip: Treat it as a small ritual. Pour, admire, taste, and enjoy
Common Mistakes and How to Avoid Them
Even though this recipe is simple, there are a few mistakes I used to make that I want to help you avoid.
If the gelatin does not bloom properly, it can turn lumpy or rubbery. Make sure to sprinkle the powder evenly over cold water and let it sit undisturbed.
Overheating the mixture can destroy some nutrients and change the texture. Always use warm, not boiling, water.
Adding too much sweetener can overpower the natural flavors and make it less healthy. Start with a small amount, then adjust to taste.
Pouring into molds too soon without stirring well can trap air bubbles. I like to stir gently in a circular motion before pouring to keep it smooth.
Following these small tips guarantees a silky, firm, and delicious gelatin every time.
How I Enjoy This Snack

I love experimenting with how I eat it. Some mornings I have a small portion with my breakfast, like oatmeal or a smoothie. In the afternoon, I enjoy it as a refreshing pick-me-up.
Sometimes I make it colorful and fun for social media or for my kids. Seeing them enjoy a healthy treat motivates me to keep creating new variations.
I also use it as a reward for sticking to healthy habits. Making and eating it slowly encourages mindfulness, which is just as important as the ingredients themselves.
How I Store This Gelatin
I always let the gelatin cool completely before covering it to avoid condensation that can make it watery.
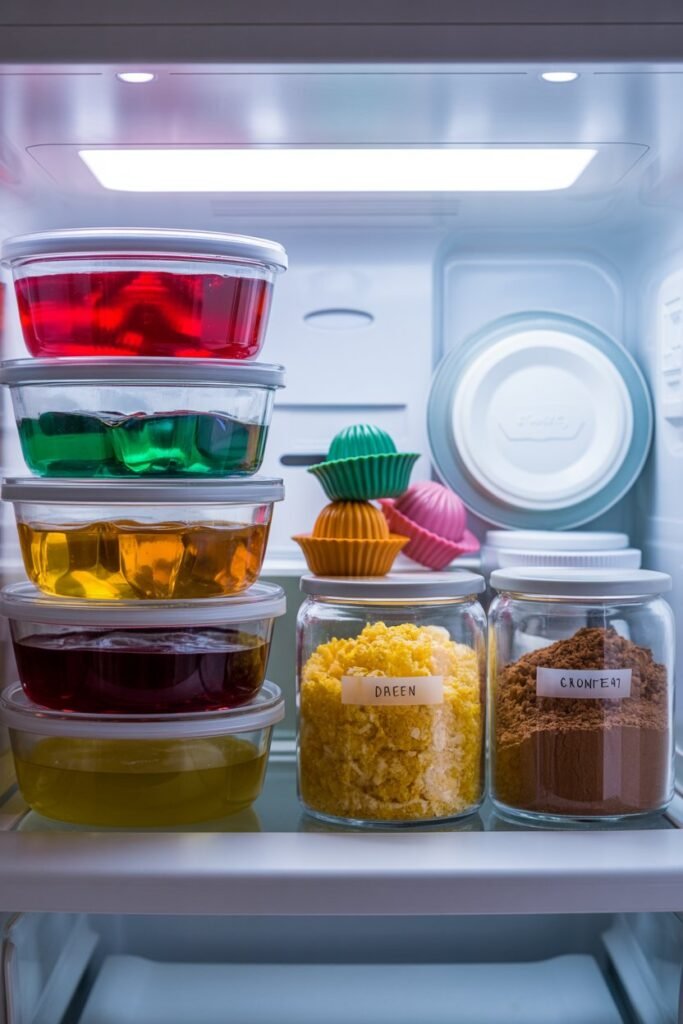
I store it in an airtight glass container in the fridge, where it stays fresh for up to five days, though I usually eat it within three for the best texture.
For individual servings, I like using silicone molds or small jars—easy to grab and keeps the rest clean. I avoid freezing since thawing changes the texture.
A little citrus zest or cocoa powder on top before storing adds extra flavor and makes it look appealing.
Final Thoughts
This viral gelatin recipe is simple, versatile, and effective. It supports digestion, keeps you full, adds protein, and can even help with weight loss when combined with a balanced lifestyle.
Making it yourself transforms the process from a simple snack to a mindful self-care ritual. Over time, you’ll notice subtle changes like reduced bloating, better energy, and a more satisfied feeling after meals.
The beauty of this recipe is that it can be customized endlessly. Different fruits, spices, or boosters allow you to experiment and keep it exciting.
Give it a try consistently, enjoy the process, and watch how something small and simple can have a surprisingly big impact on your well-being.