
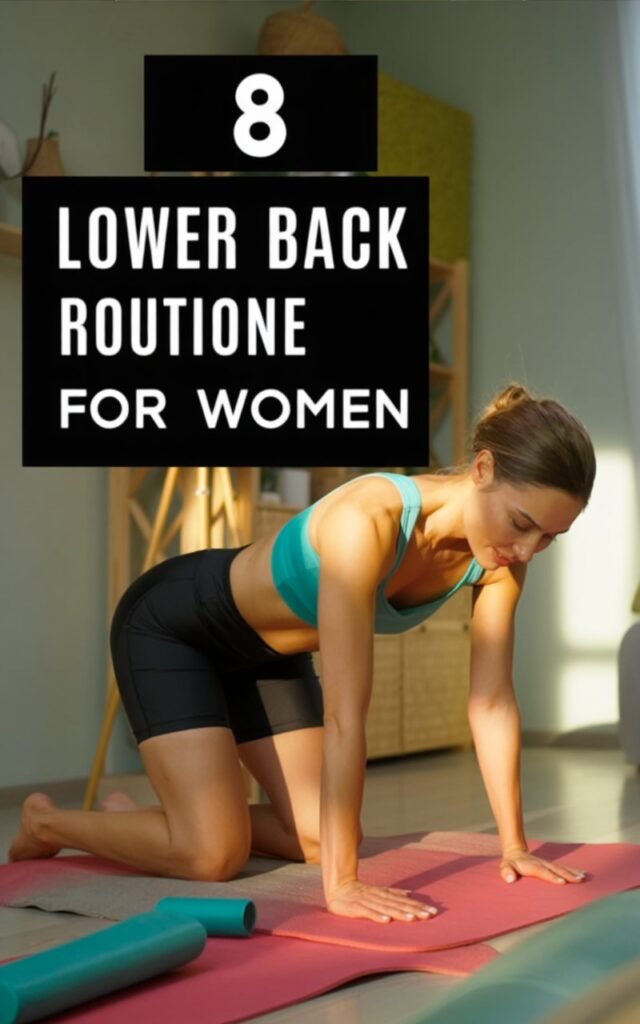
In this workout, we’ll be going through eight different exercises for 50 seconds each, moving relatively quickly from one exercise to the next.
There is no rest in between exercises, and you only need one round to complete the routine.
The best part? No equipment is required, making this the perfect home workout to strengthen your lower back, improve posture, and build core stability.
Whether you spend long hours sitting at a desk, recovering from minor back discomfort, or just want to improve your overall strength, this routine has you covered.
By the end of this session, your lower back, glutes, and core will feel stronger, more engaged, and more mobile.
Disclaimer: This post contains affiliate links. If you make a purchase through these links, we may earn a small commission at no extra cost to you.
Amazon Shopping List: Lower Back Workout Routine
- Yoga Exercise Mat
Provides comfort and support for lower back stretches and strengthening exercises.
BUY NOW ON AMAZON - Resistance Bands Set
Helps add resistance to lower back exercises for improved strength and stability.
BUY NOW ON AMAZON - Foam Roller
Perfect for relieving muscle tension and improving flexibility in the lower back.
BUY NOW ON AMAZON - Kettlebell (5–15 lbs)
Useful for weighted exercises that strengthen the lower back and core.
BUY NOW ON AMAZON - Adjustable Dumbbells Set
Ideal for targeted lower back and overall core strengthening workouts.
BUY NOW ON AMAZON
The Lower Back Workout Routine

Before we get started, take a quick second to set up your space.
I like to use a simple mat in my living room—nothing fancy, just enough room to move comfortably.
Remember, each exercise is 50 seconds with no rest in between, so try to stay focused and move with control.
Don’t worry about being perfect—what matters most is keeping your form steady and listening to your body.
If you ever feel strain instead of muscle engagement, slow it down or take a quick pause.
This routine is meant to strengthen your lower back, not stress it.
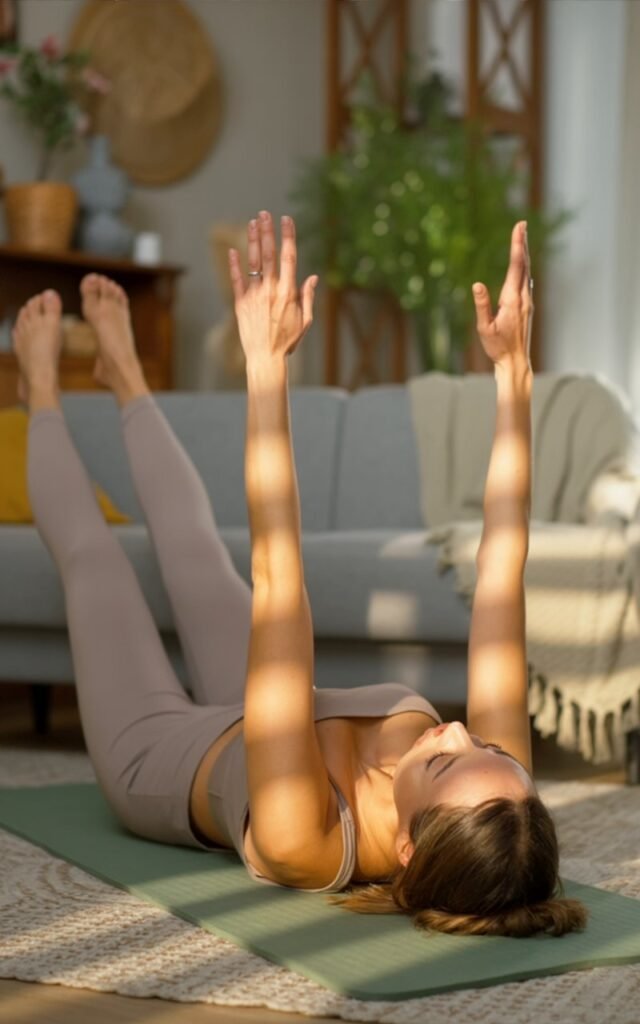
1. Glute Bridge Hold

I always like starting with this one because it gently wakes up the lower back without putting too much pressure on it.
It looks simple, but when done right, you’ll really feel your glutes and core working together to support your lower back.
Lie on your back with your knees bent and feet flat on the floor, about hip-width apart.
Keep your arms relaxed by your sides. From here, press through your heels and lift your hips up toward the ceiling.
At the top, squeeze your glutes and hold that position. Try to keep your body in a straight line from your shoulders to your knees.
Avoid over-arching your lower back—this is something I had to correct early on. Focus more on squeezing your glutes than pushing your hips too high.
Hold for the full 50 seconds, breathing steadily and keeping your core slightly engaged.
Tip: If you start to feel this mostly in your lower back, lower down slightly and reset your position. The goal is controlled activation, not strain.
2. Superman Raises
This is one of those exercises that really targets the entire back side of your body, especially the lower back.
It may feel a bit challenging at first, but it gets easier as your strength improves.
Lie face down on the floor with your arms extended straight in front of you and your legs stretched out behind you.
Keep your neck in a neutral position by looking slightly down.
From here, slowly lift your arms, chest, and legs off the ground at the same time.
You don’t need to lift super high—just enough to feel your lower back and glutes engage.
Hold briefly at the top, then lower back down with control. Keep repeating this movement for the full 50 seconds.
I remember rushing through this at first, but slowing it down made a huge difference.
You’ll feel it much more when you focus on controlled lifts instead of speed.
Tip: Keep your movements smooth and avoid jerking your body up. Think of it as a steady lift and release, not a quick bounce.
3. Bird Dog

This is one of those exercises that looks simple but actually teaches your body how to stay stable, which is exactly what your lower back needs.
When I first started doing this, I realized how easy it is to lose balance if your core isn’t fully engaged.
Start on all fours with your hands directly under your shoulders and your knees under your hips. Keep your spine neutral—not arched, not rounded—and gently tighten your core.
Slowly extend your right arm forward while stretching your left leg straight back.
Try to create a straight line from your fingertips to your heel.
The key here is control—don’t rush the movement.
Pause briefly at the top, then bring everything back in and switch sides. Continue alternating sides for the full 50 seconds.
As you do this, pay attention to your hips. They should stay as level as possible. If one side starts lifting, that’s your sign to slow down and reset.
Tip: Imagine balancing a glass of water on your back—this helps you stay steady and controlled throughout the movement.
4. Reverse Snow Angels

This exercise is great for improving posture and strengthening the muscles along your upper and lower back.
If you spend a lot of time sitting or leaning forward, this one really helps counter that.
Lie face down with your arms extended overhead and your legs straight. Keep your forehead close to the floor and your neck relaxed.
Lift your arms slightly off the ground, then slowly move them out to the sides and down toward your hips in a wide arc, like you’re drawing a big circle.
Then bring them back overhead and repeat.
The movement should feel smooth and controlled—not rushed. You’ll start to feel your back muscles working as you go, especially around your shoulders and lower back.
I didn’t expect this one to be as effective as it is, but once I slowed down and focused on the movement, it made a big difference in how my posture felt throughout the day.
Tip: Keep your arms lifted the entire time and avoid letting them drop. The tension is what makes this exercise work.
5. Cat-Cow Stretch (Dynamic)

This one might feel familiar, but it’s more than just a stretch—it’s a gentle way to mobilize your spine while activating your core and lower back.
I love starting or ending my lower back sessions with this because it helps reset tension built up from sitting all day.
Start on all fours with your hands under your shoulders and knees under your hips. Keep your head in line with your spine.
- Cat: Slowly round your back toward the ceiling, tucking your chin slightly and engaging your core.
- Cow: Then arch your back, lifting your chest and tailbone gently toward the ceiling.
Flow between these two positions slowly for 50 seconds, inhaling during the arch (cow) and exhaling during the round (cat).
Tip: Focus on moving segment by segment, feeling your spine open and close.
The slower you go, the more your lower back and core get activated—and you’ll notice your body loosening up instantly.
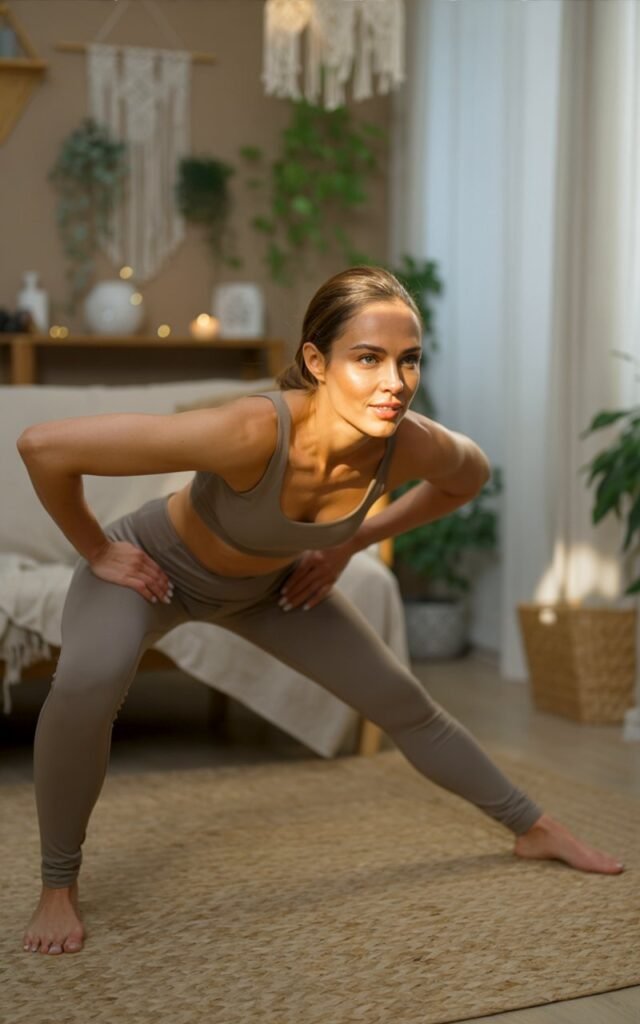
6. Hip Hinge (Bodyweight Deadlift)

The hip hinge is a staple for strengthening your lower back and glutes safely.
When I first tried it, I realized I’d been bending from my spine instead of my hips for years—ouch!
This one teaches proper mechanics while strengthening the muscles that really support your lower back.
Stand with feet hip-width apart, knees slightly bent. Place your hands on your hips or extend them forward for balance.
Push your hips back while keeping your chest lifted and your back flat.
Imagine closing a car door with your hips—your spine stays neutral, and your glutes and hamstrings do the work.
Return to standing and repeat for the full 50 seconds.
Tip: Don’t overextend or arch your back.
The goal is to hinge at the hips while keeping your spine straight. Engaging your core will help protect your lower back and make this much more effective.
7. Side Plank with Hip Lift
The side plank with hip lift is a game-changer for building the muscles that support your lower back from the sides—your obliques, glutes, and stabilizers.
I used to skip side planks because they seemed “hard,” but once I added the hip lift variation, I felt my core and lower back working in a completely new way.
Start on your side with your elbow directly under your shoulder and your legs stacked.
Lift your hips off the ground so your body forms a straight line from head to feet. This is your starting position.
From here, slowly lower your hips a few inches toward the floor, then lift them back up, keeping your core tight and your body aligned.
Focus on controlled movement rather than speed—the squeeze at the top is what engages your glutes and side muscles effectively.
Switch sides halfway through the 50 seconds, or alternate every few reps if that feels smoother.
Tip: Imagine trying to push the floor away with your side glutes while keeping your spine long and stable. If your hips drop or your shoulder collapses, pause and reset.
This is one of those exercises where proper form makes all the difference, and doing it consistently can drastically improve your posture and spinal stability.
8. Bird Dog Crunch

The Bird Dog Crunch is an advanced variation of the classic Bird Dog, designed to target your lower back, glutes, and core simultaneously while also improving balance and coordination.
I remember thinking this would be “too easy” at first—but once I slowed down and focused on each movement, I felt muscles I didn’t even know existed waking up!
Start on all fours with your hands under your shoulders and knees under your hips. Extend your right arm forward and left leg back, just like the standard Bird Dog.
Then, engage your core and draw your elbow and knee toward each other under your torso in a controlled crunch. Extend again fully and repeat.
Alternate sides continuously for the full 50 seconds. Make sure each movement is slow and deliberate—rushing defeats the purpose.
You want to feel the tension in your glutes, lower back, and abs the entire time.
Tip: Think of this as a stability and strength drill combined.
Keeping your spine neutral and your movements controlled will not only strengthen your lower back but also improve coordination and core awareness—something I didn’t realize I was lacking until I tried this consistently.
Cool Down & Closing Thoughts

After finishing all eight exercises, take a few minutes to gently stretch your lower back and hips.
Lie on your back and hug your knees to your chest, or try a gentle seated forward fold.
Even one round of this routine makes a noticeable difference—I always feel my lower back more supported, my glutes engaged, and my core awake.
Consistency is key; doing this 2–3 times a week can improve posture, reduce day-to-day discomfort, and strengthen the muscles that truly support your lower back.
Remember: It’s not about rushing or pushing to exhaustion. Focus on controlled movements, proper form, and connecting with your muscles.
Over time, your lower back will feel stronger, more mobile, and ready for whatever your day throws at you.