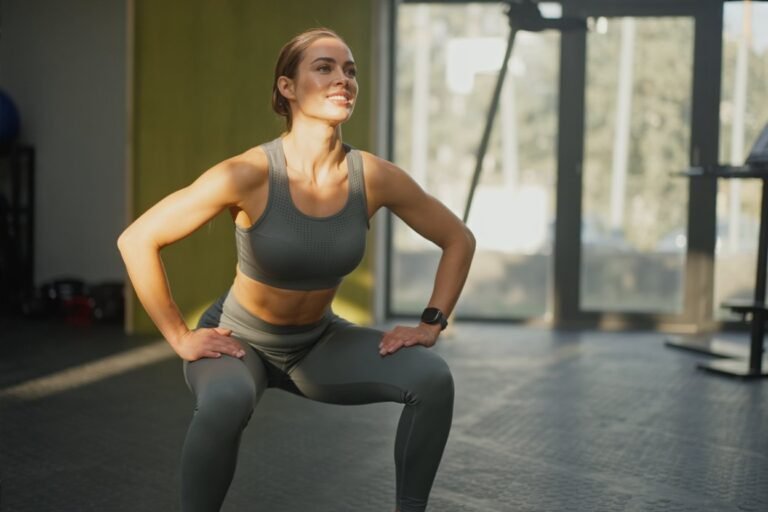
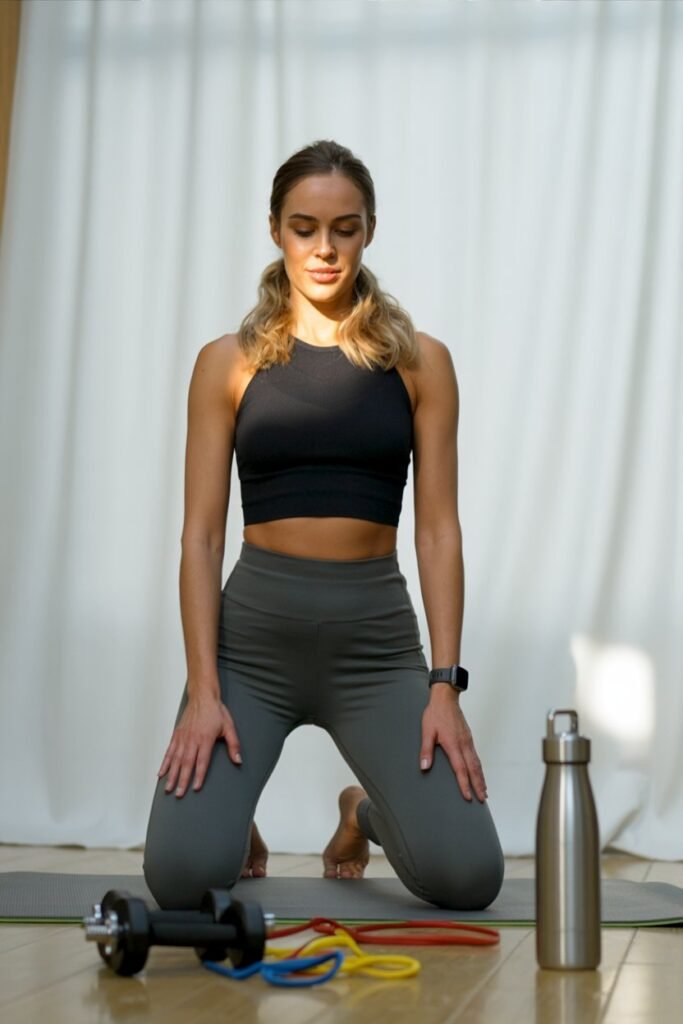
Today’s home workout is an eight-minute lean legs burner, and I’m going to be very honest with you from the start: you are going to feel this.
This is one of those workouts that looks manageable at first glance, but once you’re in it, the burn builds quickly and stays with you.
I recommend doing this workout seven days in a row if you want noticeable results in your legs without spending hours exercising.
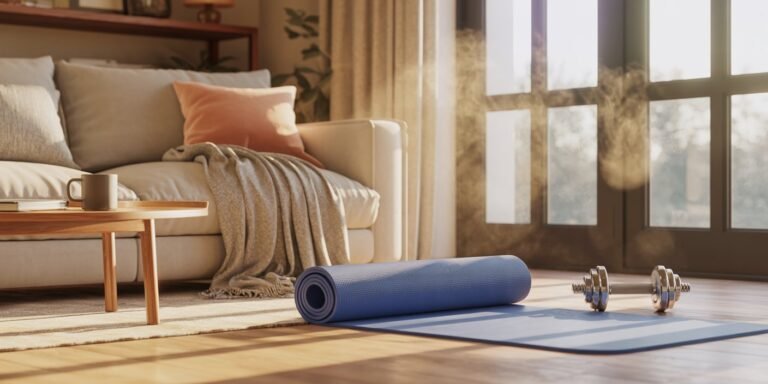
What I love most about this routine is how accessible it is. There’s no equipment needed, no complicated setup, and no excuse not to try it.
I’ve seen incredible transformations from women who stayed consistent with this exact workout, and it’s one I personally come back to whenever I want my legs to feel stronger, leaner, and more engaged.
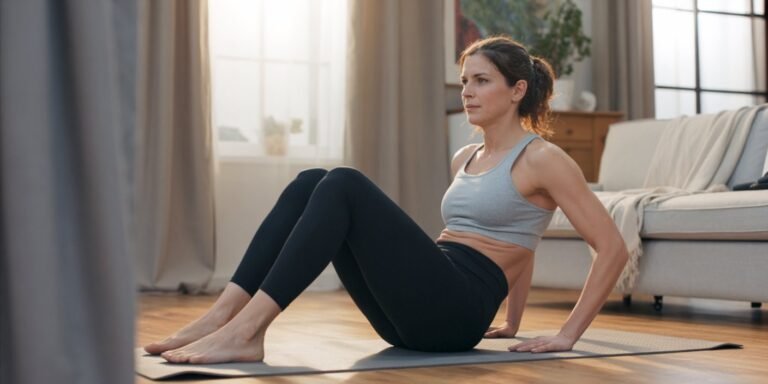
Before we get into the details, I also want to mention that this workout fits perfectly into a real, busy lifestyle. It’s short, effective, and focused.
You can do it in your living room, bedroom, or anywhere you have a little bit of space.
Now, let’s get straight into the workout.
Disclaimer: This post contains affiliate links. If you make a purchase through these links, we may earn a small commission at no extra cost to you.
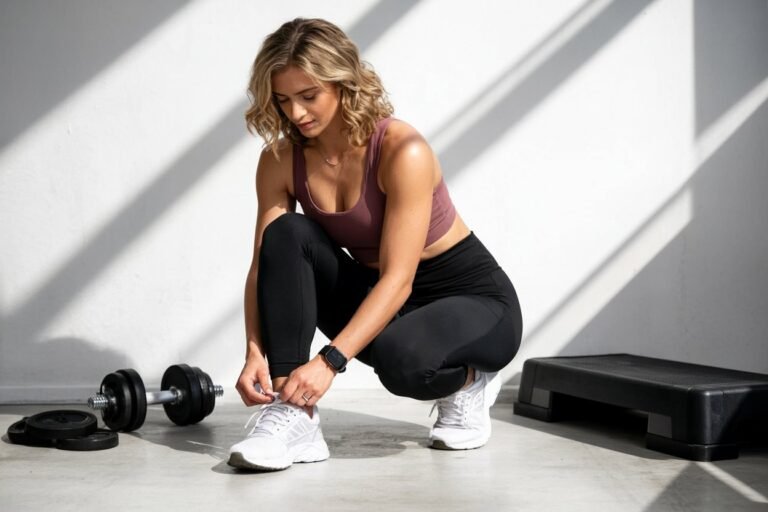
Amazon Shopping List For How To Get A Slimmer Thighs.
- Resistance Bands Set
Perfect for targeted thigh exercises to tone and strengthen leg muscles.
BUY NOW ON AMAZON - Yoga Exercise Mat
Provides comfort and support for floor exercises, stretches, and leg workouts.
BUY NOW ON AMAZON - Adjustable Dumbbells Set
Adds resistance to leg and thigh exercises for better toning results.
BUY NOW ON AMAZON - Thigh Slimmer & Toning Bands
Helps intensify thigh workouts and improve muscle definition.
BUY NOW ON AMAZON - Foam Roller
Assists in muscle recovery and reduces soreness after leg and thigh workouts.
BUY NOW ON AMAZON
How This Workout Is Structured
When I designed this thigh-slimming workout, I wanted it to be simple, effective, and easy to follow—no confusing routines or hours at the gym required.
The structure focuses on targeting all areas of the thighs while keeping your metabolism engaged, so you get the most results in the shortest time.
The workout is divided into three main parts:
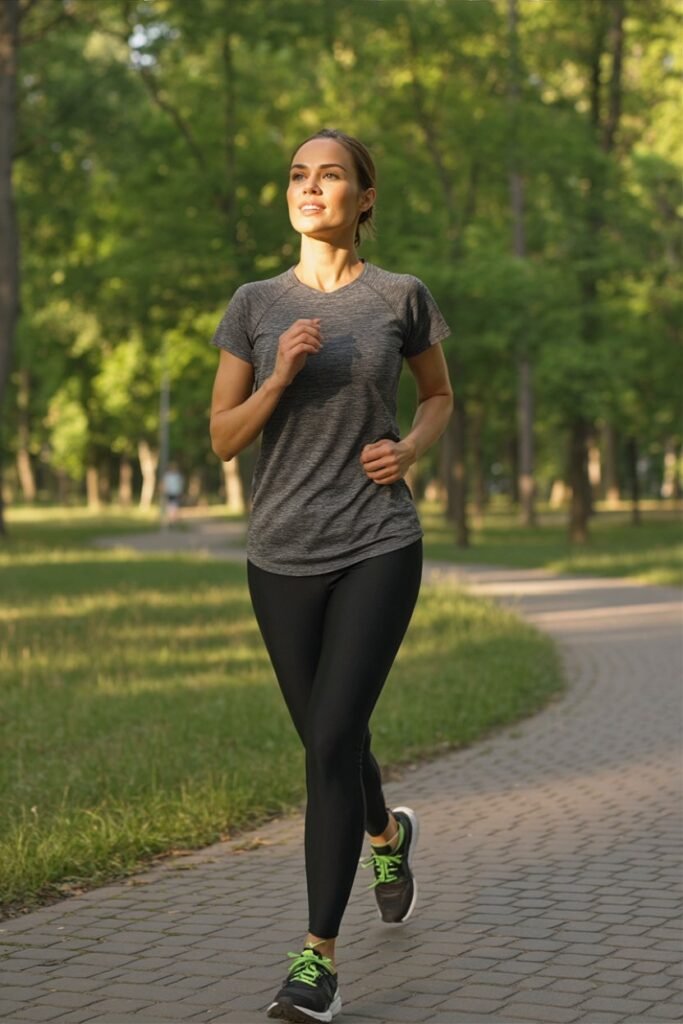
- Warm-Up (5–10 minutes) – I always start with a gentle warm-up to get my blood flowing and prepare my muscles. Simple moves like marching in place, leg swings, or light squats help prevent injury and make the exercises more effective.
- Strength & Toning (15–20 minutes) – This is the core of the workout. I include moves like squats, lunges, inner-thigh lifts, and side leg raises. Each exercise targets different parts of the thighs—front, back, and inner areas—so you get a balanced tone. I usually do 2–3 sets of 12–15 reps for each exercise, adjusting based on my energy levels.
- Cool-Down & Stretching (5 minutes) – I never skip the cool-down. Stretching the thighs, hamstrings, and hips helps reduce soreness, improve flexibility, and promote recovery. It also gives you a few calm minutes to reset your body and mind after the workout.
I love this structure because it blends strength, mobility, and recovery in a single session.
Even on busy days, I can complete it in under 30 minutes, and over time, it has made my thighs leaner, stronger, and more sculpted—without feeling overwhelming.
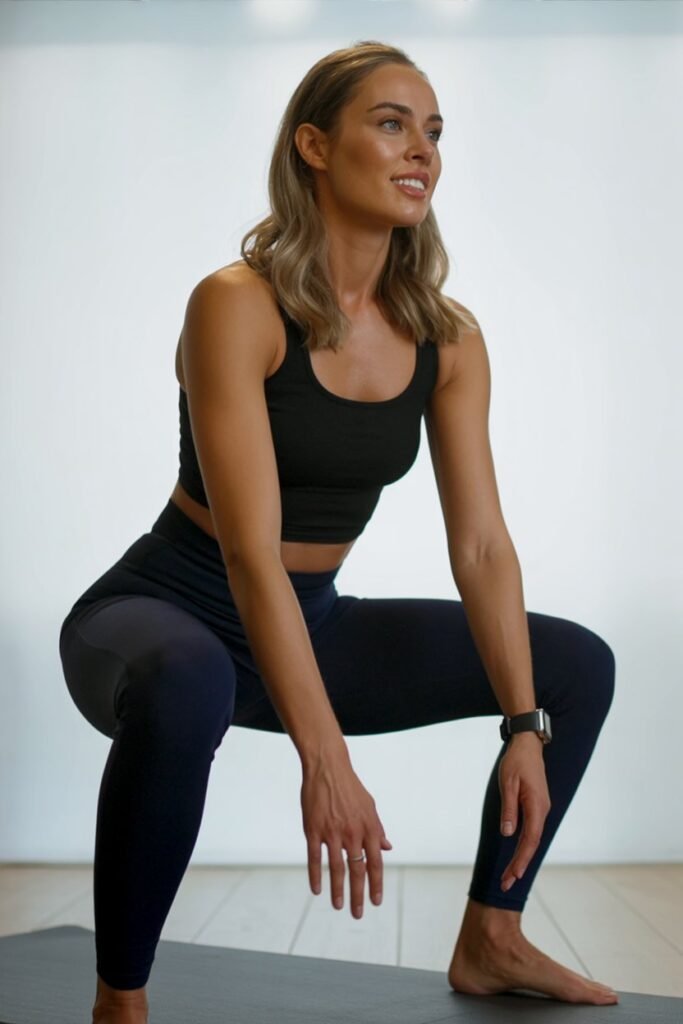
Exercise 1: Thinner Squat with Foot Pivot
The thinner squat with foot pivot quickly became one of my favorite moves for targeting not just the front of my thighs, but also the inner and outer thighs.
At first, I thought a regular squat would be enough—but adding the foot pivot completely changed the burn and helped shape my legs more evenly.
Here’s how I do it:
- Start Position: Stand with your feet hip-width apart and engage your core. Keep your shoulders relaxed and your chest lifted.
- Lower Into a Squat: Bend your knees and lower your hips as if you’re sitting into a chair. Keep your weight in your heels and make sure your knees don’t go past your toes.
- Pivot: From the bottom of the squat, pivot your feet slightly outward (about 45 degrees) and then return to the center. You can also alternate sides for extra toning.
- Repeat: Perform 12–15 reps for 2–3 sets, moving slowly and focusing on engaging the thigh muscles throughout.
I love this exercise because it’s low-impact but high-result, and I can feel it working my inner thighs almost immediately.
Adding the pivot makes it different from a standard squat, targeting areas that often feel stubborn when slimming down.
Tip: Keep your core engaged and your movements controlled. It’s not about speed—it’s about feeling each muscle work and maintaining good form.
Related Leg & Lower Body Workouts
- 10 Best Leg Exercises to Tone Your Thighs (Beginner-Friendly & Effective)
- 10-Minute Thigh Exercise
- Top Tools to Tone Legs and Burn Thigh Fat — What Actually Worked for Me
- 7 Best Moves to Lose Hip Fat
- 8 Moves for a Round and Lifted Butt
Exercise 2: Narrow Squat Pulses
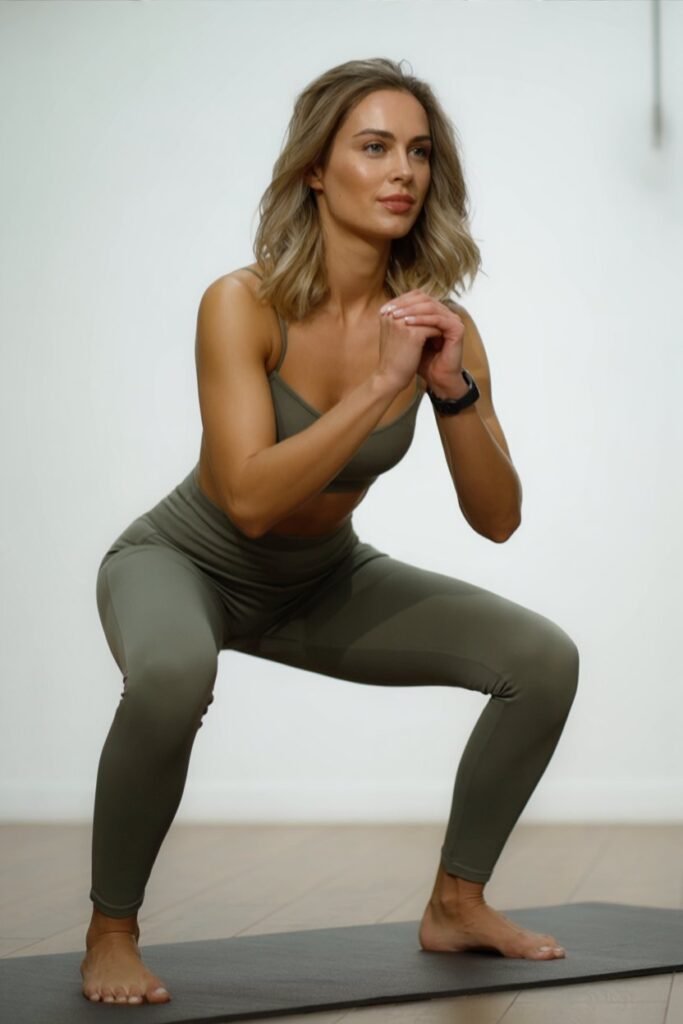
Narrow squat pulses quickly became one of my go-to moves for sculpting the inner thighs.
I used to do regular squats all the time, but I noticed my inner thighs weren’t really engaging the way I wanted—until I added the pulse.
Now, it’s one of those exercises that leaves my thighs feeling tight and strong after just a few minutes.
Here’s how I do it:
- Start Position: Stand with your feet closer together than a regular squat—about hip-width apart or slightly narrower. Engage your core and keep your chest lifted.
- Lower Into a Squat: Push your hips back and bend your knees slightly, keeping your weight in your heels. Go down only as far as you can comfortably maintain good form.
- Pulse: From the squat position, pulse up and down in small, controlled movements. The motion should be subtle, just a few inches, but make sure your thighs are engaged the whole time.
- Reps & Sets: I usually aim for 15–20 pulses per set and complete 2–3 sets. The burn can be intense, so focus on slow, deliberate movements rather than speed.
I love this exercise because it isolates the inner thighs in a way other squats don’t.
It’s perfect for finishing off a squat session or adding a quick thigh toner at the end of a short workout.
Over time, these pulses really helped me build lean muscle and create a more sculpted thigh line.
Tip: Keep your knees aligned with your toes and avoid letting them collapse inward. Slow, controlled pulses are far more effective than rushing through the movement.
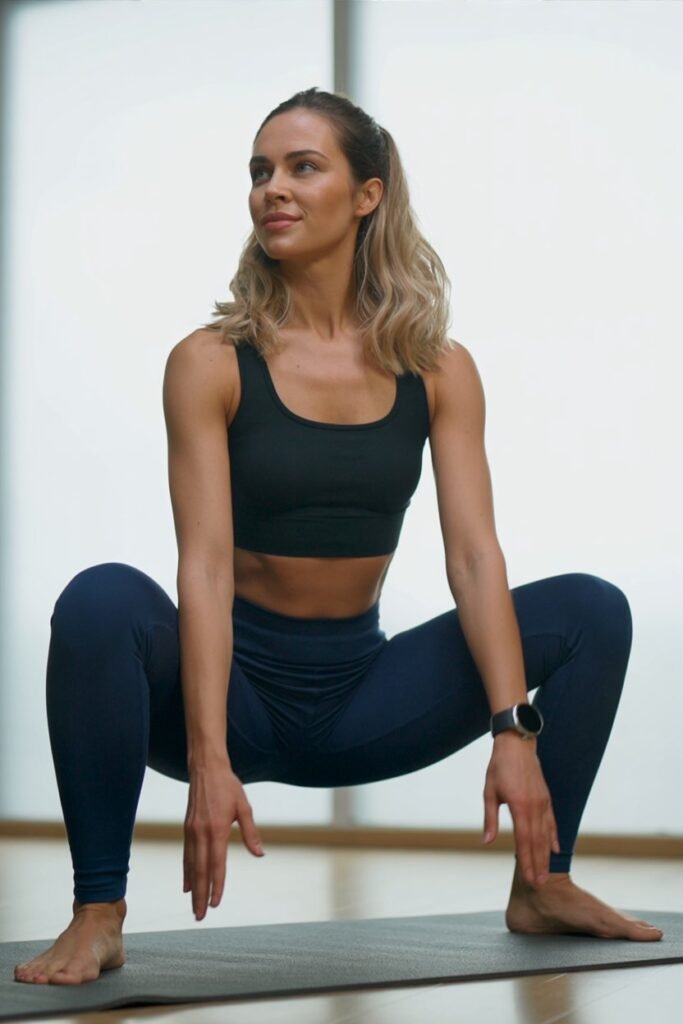
Exercise 3: Low Squat Rock and Hold
The low squat rock and hold quickly became my favorite for really firing up the thighs while also improving balance and stability.
At first, I thought squats were all about repetition, but holding and rocking in a low position completely changed how my legs felt—especially the quads and inner thighs.
Here’s how I do it:
- Start Position: Stand with your feet slightly wider than hip-width apart and point your toes slightly outward. Engage your core and keep your chest lifted.
- Lower Into a Low Squat: Bend your knees and push your hips back, lowering until your thighs are parallel to the ground or as low as comfortable.
- Rock Gently: Shift your weight slightly forward onto your toes and then back onto your heels, keeping your knees aligned with your toes. Keep the movements small and controlled.
- Hold: After a few rocks, pause in the low squat and hold the position for 10–20 seconds before standing up or repeating.
- Reps & Sets: I usually do 2–3 sets of 12–15 rocks with a 10–20 second hold at the end of each set.
I love this exercise because it combines strength, endurance, and control.
By holding the squat, my thighs feel fully engaged, and the rocking adds a dynamic movement that really tones stubborn areas.
It made my legs feel leaner, stronger, and more defined without needing heavy weights.
Tip: Keep your core engaged and move slowly—this ensures you’re targeting the muscles properly and reduces strain on your knees.
Exercise 4: Single-Leg Glute Bridge for Hamstrings
The single-leg glute bridge is one of those exercises that hits multiple areas at once.
While it primarily targets the glutes and hamstrings, it also helps tone the back of the thighs, which is often an overlooked spot when aiming for slimmer, sculpted legs.
When I first added this move to my routine, I was surprised at how much it burned—even without any weights.
Here’s how I do it:
- Start Position: Lie on your back with your knees bent and feet flat on the floor, about hip-width apart. Engage your core and press your arms lightly into the floor for support.
- Lift One Leg: Extend your right leg straight out, keeping it in line with your hips. Your left foot remains flat on the floor.
- Bridge: Press through your left heel to lift your hips toward the ceiling, squeezing your glutes at the top. Your body should form a straight line from your shoulders to your extended foot.
- Lower Slowly: Gently lower your hips back down without letting your glutes touch the floor completely, then repeat for 12–15 reps. Switch legs and repeat.
- Sets: I usually complete 2–3 sets per leg.
I love this exercise because it strengthens the hamstrings and glutes while also stabilizing the core.
The single-leg focus makes each movement more challenging and effective, helping tone and tighten the back of the thighs.
It not only slimmed my legs but also improved my balance and overall leg strength.
Tip: Keep your movements controlled and your core engaged. Avoid arching your lower back—focus on lifting with your glutes and hamstrings for maximum effect.
Exercise 5: Hamstring Bridge Pumps and Hold
The hamstring bridge pumps and hold is one of my favorite moves for targeting the back of the thighs and glutes simultaneously.
I added it to my routine after realizing my hamstrings were lagging behind the front of my legs in tone.
This exercise is simple but incredibly effective—you can really feel the burn after just a few reps.
Here’s how I do it:
- Start Position: Lie on your back with your knees bent, feet flat on the floor, and arms resting by your sides. Engage your core and keep your shoulders pressed lightly into the floor.
- Lift Hips: Press through your heels to lift your hips toward the ceiling, squeezing your glutes at the top. Your body should form a straight line from shoulders to knees.
- Pump: From the top position, pulse your hips up and down in small, controlled movements about 2–3 inches.
- Hold: After 10–12 pumps, hold your hips at the top for 10–20 seconds, keeping the glutes and hamstrings engaged.
- Reps & Sets: Repeat for 2–3 sets of 12–15 reps.
I love this exercise because it combines dynamic and isometric movements, which really challenges the hamstrings while building endurance.
It also helps lift and firm the glutes, giving the back of the thighs a tighter, more toned appearance.
After incorporating these regularly, I noticed my legs felt stronger, more sculpted, and more balanced from front to back.
Exercise 6: Outer Thigh Circles on the Side
Outer thigh toning can be tricky, but the side-lying thigh circles quickly became one of my favorite ways to target that stubborn area.
When I first tried them, I could feel the burn immediately along the side of my leg, and I loved how it helped shape the thighs without needing heavy weights.
Here’s how I do it:
- Start Position: Lie on your side with your legs stacked on top of each other. Rest your head on your lower arm and place your top hand in front of your chest for balance. Engage your core to keep your hips stable.
- Lift Top Leg: Lift your top leg a few inches off the bottom leg, keeping it straight and tight.
- Make Circles: Slowly rotate your lifted leg in small, controlled circles. Make 10–12 circles clockwise, then switch to counterclockwise. Keep the movement deliberate so the outer thigh stays engaged.
- Reps & Sets: Repeat 2–3 sets per leg.
I love this exercise because it isolates the outer thigh, helping create a leaner, more defined look.
It also improves hip stability and strengthens the muscles around the pelvis, which I noticed helped with balance and posture over time.
Plus, it’s easy to do at home without any equipment.
Exercise 7: Step Squats to Finish Strong
Step squats are my favorite way to end a thigh workout with a bang.
They combine strength, balance, and a little cardio, which really helps tone the front, inner, and outer thighs all at once.
I always save these for last because they leave my legs burning in the best way and give a feeling of accomplishment after the session.
Here’s how I do it:
- Start Position: Stand with one foot slightly forward on a step or sturdy platform and the other foot on the floor behind you. Engage your core and keep your chest lifted.
- Lower Into a Squat: Bend both knees, lowering your back knee toward the floor. Keep your front knee aligned with your ankle, and make sure your weight stays in your front heel.
- Push Up: Press through your front foot to rise back up, keeping your core tight and movements controlled.
- Alternate Legs: Step forward with the opposite leg and repeat. Each leg should get equal attention.
- Reps & Sets: I usually do 12–15 reps per leg for 2–3 sets. If I’m feeling ambitious, I add a few extra reps to really finish strong.
I love this exercise because it engages multiple muscles at once—quads, glutes, and even calves—while improving balance and coordination.
After a few weeks of including step squats, I noticed my thighs felt tighter, my legs stronger, and my overall stability much improved.
How Often I Recommend Doing This Workout
For the best results:
- Perform this workout once a day
- Commit to seven consecutive days
- Focus on form and consistency rather than speed
Because it’s short and equipment-free, it’s easy to stay consistent without feeling overwhelmed.
Final Thoughts
This eight-minute lean legs burner is proof that you don’t need long workouts or fancy equipment to see results.
What truly matters is staying present, moving with intention, and showing up day after day.
When done consistently, this routine strengthens the thighs, engages the glutes, and leaves your legs feeling worked in the best way possible.