Hi guys, and welcome back to another post from Jay . As soon as I start writing, Michael is right here next to me, and I keep telling him to back away.
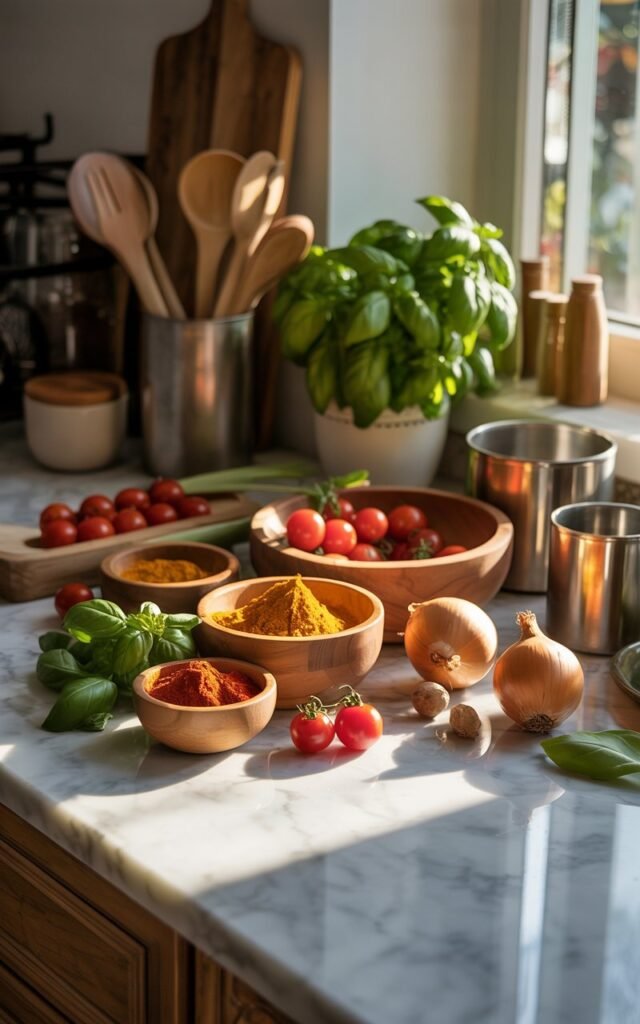
He eventually steps aside, but not before saying hi to everyone and introducing himself. I’m Jay, and this is my little baby kitchen where most of my simple and comforting recipes come to life.
One of my babies, Ginger, is already pacing around the floor. She knows when I’m cooking, there might be a leftover coming her way.
I ask her what she wants, but she just looks up at me like she already knows the plan. Teddy, on the other hand, is somewhere in the living room doing his own thing.
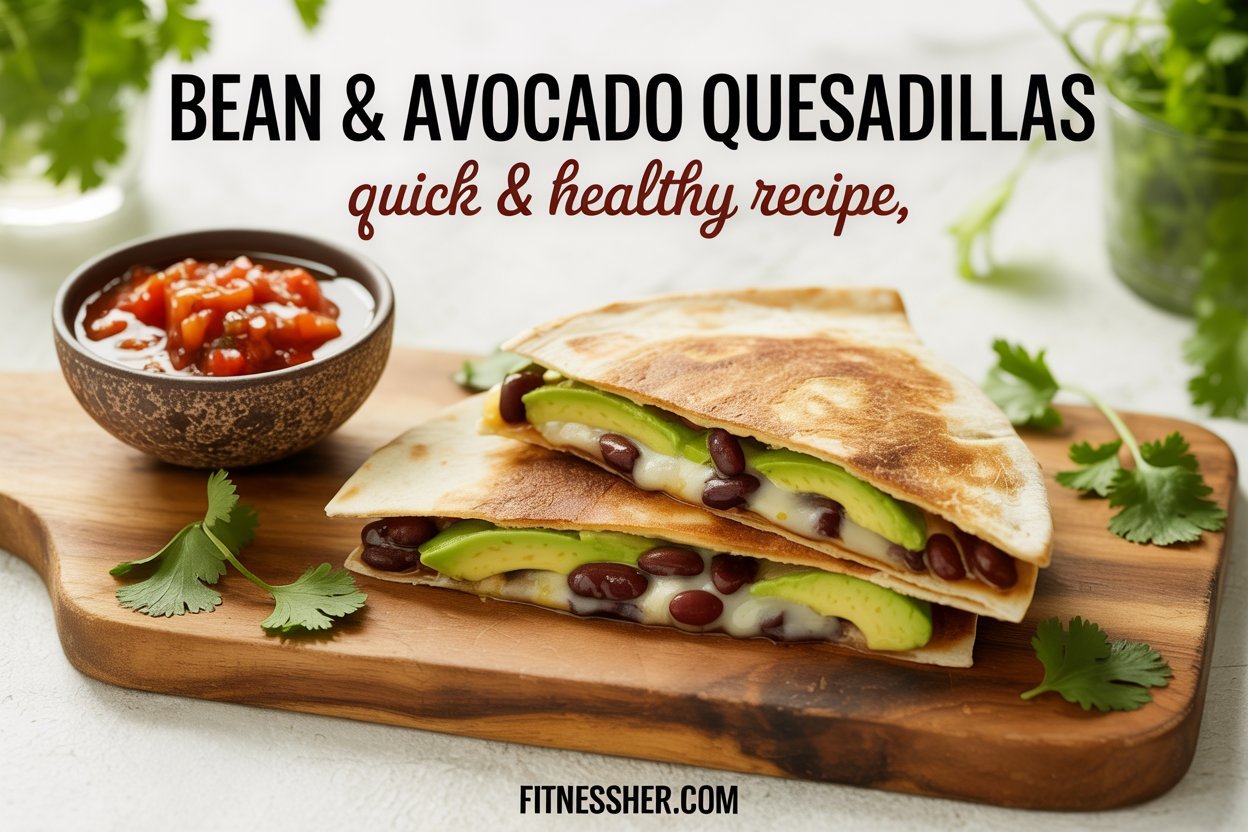
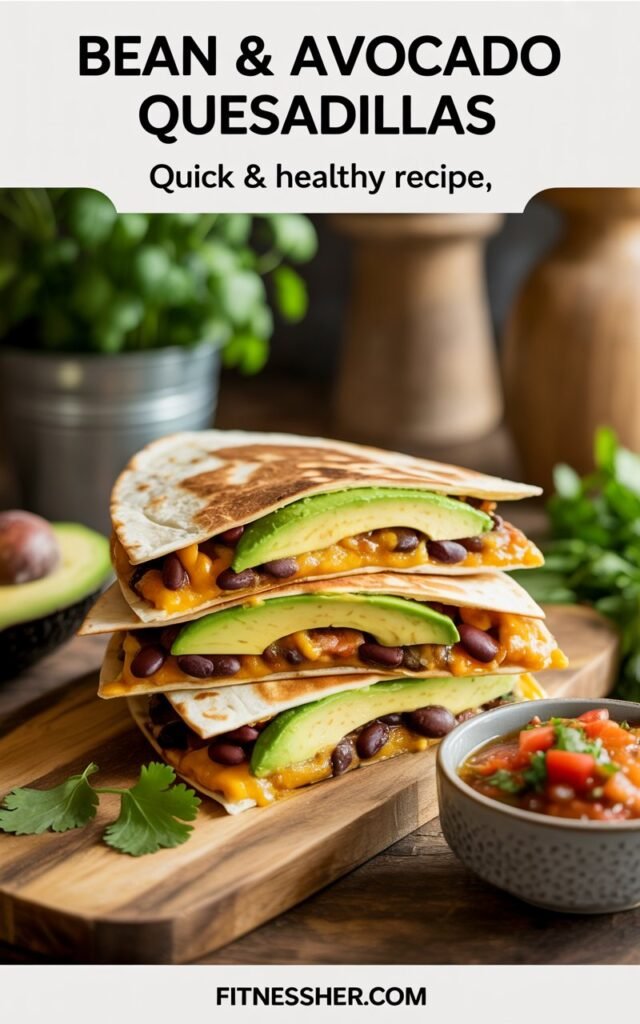
Today, I’m making something quick, easy, and surprisingly delicious—bean and avocado quesadillas.
What We’re Making Today
Right now, I want to show you guys this recipe someone once taught me. It’s simple: avocado and bean quesadillas. When you hear it out loud, it almost sounds too basic to be good, but trust me, it works.
There’s no meat in this recipe, which makes it a full vegetarian option. Depending on the tortillas and ingredients you choose, you could even call it vegan.
On the counter, I have four flour tortillas. This will make two quesadillas. You can use whatever tortillas you prefer—flour or corn—but today I’m working with flour for the main batch.
Preparing the Filling
For the beans, I’m using refried black beans from a can. I opened the can, transferred everything into a bowl, and added a little salt.
Before seasoning, I always taste the beans to see if they already have flavor, and these didn’t. So a pinch of salt was all they needed.
I also grabbed fresh cilantro from my fridge, chopped a handful, and mixed it into the beans. It adds brightness and that fresh smell that makes every bite better.
Next, I mashed two baby avocados. They were nice and fresh, but if you look closely, you’ll notice a few black spots in the mash.
That happens the minute avocado is cut and exposed to air. It doesn’t mean anything is wrong—it just means the fruit is ripening. For anyone who gets grossed out by brown spots, don’t worry. The flavor stays the same.
I added a little more salt to the avocado and set it aside.
Heating the Pan and Getting Ready

While I prepped the fillings, I let my pan heat up on medium. Today, I’m using corn oil—Michael asked me what oil it was, and yes, corn oil it is!
I keep it in smaller bottles rather than the big jug; it makes pouring and controlling the amount so much easier, especially when working in my little kitchen.
I laid two tortillas on the counter and grabbed shredded mozzarella cheese. This cheese is my go-to because it melts perfectly, helps the quesadillas stick together, and creates that irresistible golden stretch when you bite in.
Before I even started assembling, I reached for my tortilla smasher.
I honestly don’t like cooking without it—it helps flatten the tortillas evenly in the pan, giving them that beautiful golden-brown color and crispy finish I love.
With the pan hot, the oil ready, and my tools at hand, I felt fully prepared to build these quesadillas the way I like them: crispy, cheesy, and perfectly cooked every time.
Starting the Assembly
Michael asks what step one is, and even though we went out of order a bit, it doesn’t matter because they come together fast. I placed the tortillas into the pan to warm and lightly brown.
I lowered the heat to about level three so the tortillas didn’t burn too fast. The heat needs to stay low-to-medium to get that perfect color.
While those were warming, I took spoonfuls of avocado and spread a thin layer over each tortilla. Not too much—just enough to cover.
I apologized for a second because I had to adjust the avocado. Then I explained that the darker spots were normal. The avocado simply oxidizes once it’s cut, and some parts ripen faster. Nothing to worry about.
Next, I wiped the knife and used the same one to spread the refried beans on top of the avocado layer. Since everything is going into the same quesadilla, using the same knife makes sense.
Melting the Cheese and Browning the Tortillas
While I was assembling the quesadillas, I let a little mozzarella cheese melt directly onto the pan.
This is honestly my favorite part—when the tortillas go on top of that melted cheese, it creates a crispy, golden layer that tastes amazing and adds a little extra flair to every bite.
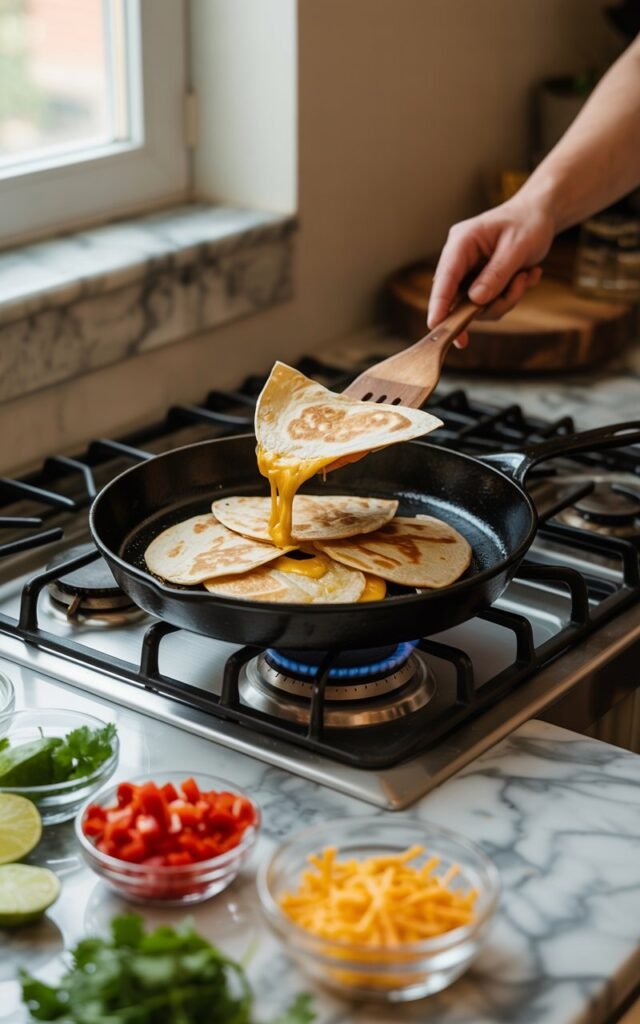
Once the cheese started bubbling, I carefully placed the filled tortillas on top so everything would stick together perfectly.
I turned the heat up slightly to help the tortillas brown faster, and then flipped them once each side had that beautiful golden color.
The cheese stretched, browned lightly, and gave that perfect stringy pull that makes quesadillas so satisfying.
While cooking, Michael and I kept chatting. We joked about searing versus frying—searing is usually for very hot pans and meat, but here, I’m just browning the tortillas enough to crisp them without burning.
This little moment in the kitchen always makes me smile—it’s not just about cooking, it’s about enjoying the process and sharing it with someone.
Adding the Final Touches
When the cheese layer hardened slightly and everything was sealed together, I lifted the quesadilla out of the pan and set it aside.
The first one was for my husband. He likes his food a little crispier and more browned, so I let his stay in the pan slightly longer.
I moved on to the next quesadilla and added a tiny bit more corn oil to help it brown evenly. The oil amount doesn’t need to be large—just enough to help it crisp instead of sticking.
While cooking, I started talking about Valentine’s Day. I wished everyone a happy Valentine’s Day and talked about gifts—flowers, wine, perfume, bags.
I also mentioned that it goes both ways. Women can gift their partners too. Appreciation is something that should be shared.
Michael and I joke back and forth about doors swinging both ways, levers, and handles. Meanwhile, the quesadilla was browning beautifully.
Top 5 Tips for Perfect Bean and Avocado Quesadillas
- Use Fresh Avocado and Beans – Fresh ingredients give the best flavor and texture.
- Mash Half, Slice Half – Creates creamy filling with a little fresh bite.
- Cook on Medium Heat – Ensures golden, crispy tortillas without burning.
- Press Gently While Cooking – Helps cheese melt evenly and tortillas brown perfectly.
- Serve with Dips – Salsa, guacamole, or Greek yogurt adds extra flavor and creaminess.
Final Browning and Serving
I checked the bottom of the quesadilla, and it had turned the perfect golden color. I only left it for a second or two longer because that’s how my husband likes it. His was ready to serve, so I moved it to a clean plate.
For the next one, I repeated the same steps: spreading, browning, flipping, and crisping. Once both were ready, I placed the second quesadilla in the pan, lowered the heat, and got ready to plate.
Then I grabbed a pizza cutter. It’s the easiest way to slice quesadillas without pulling everything apart. When I cut into it, the inside looked perfect.
The cheese melted beautifully, the beans were warm, and the avocado added the right amount of creaminess.
I lifted one slice and showed how the inside looked. This was my bean and avocado tortilla—simple, flavorful, and ready to eat.