Every summer, without fail, I’d find myself tugging at my sleeves or strategically posing my arms in photos.
Not because I hated my body — but because my arms never felt as firm or confident as I wanted them to.
And the funny part? I was doing workouts… just not the right ones for arms that actually look toned and sculpted.
What finally worked for me wasn’t spending hours lifting heavy weights or doing complicated routines.
It was learning which moves truly target the arms, how to do them with intention, and how to fit them into real life — busy days, limited time, and zero gym pressure.
Once I figured that out, arm definition started showing up faster than I expected, especially around the shoulders and triceps where summer tops tend to highlight everything.
This post is for anyone who wants arms that look strong, smooth, and confident in sleeveless dresses, tanks, or swimsuits — without extreme workouts or burnout.
I’ll be sharing the exact moves I rely on, how I personally use them, and little tips that made a visible difference for me.
Affiliate Disclaimer: Some links in this post are affiliate links. I may earn a small commission at no extra cost to you.
AMAZON SHOPPING LIST (SEXY SUMMER ARMS ESSENTIALS)
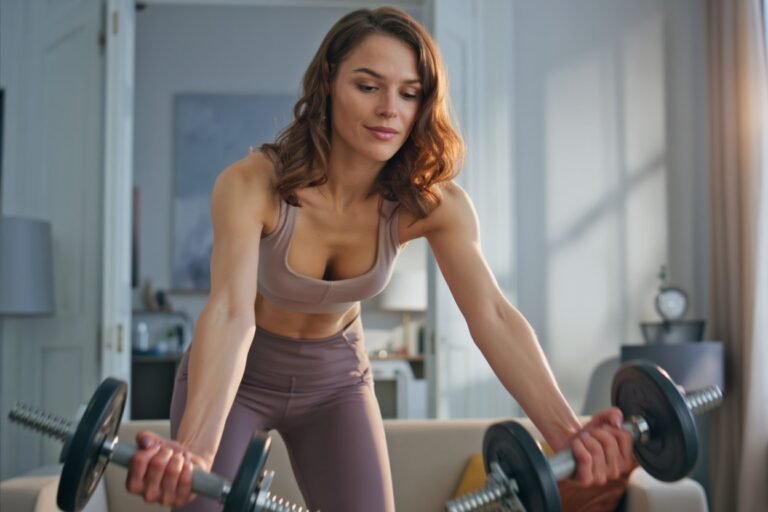
- Adjustable Dumbbells
Perfect for bicep curls, tricep extensions, and shoulder toning
BUY NOW ON AMAZON - Resistance Bands Set
Adds extra resistance for arm workouts without bulky equipment
BUY NOW ON AMAZON - Non-Slip Exercise Mat
Cushions joints during floor-based arm exercises and stretches
BUY NOW ON AMAZON - Adjustable Ankle/Wrist Weights
Boosts intensity for arm lifts, punches, and resistance moves
BUY NOW ON AMAZON - Workout Gloves
Protects hands and improves grip during strength exercises
BUY NOW ON AMAZON
Before We Get Into the Moves: What Really Shapes “Toned Summer Arms”
Before jumping into the 9 moves, it’s important to understand something most people overlook—arm definition doesn’t come from arm exercises alone.
When I first started trying to tone my arms, I focused only on doing random workouts every day.
But nothing really changed until I started looking at the bigger picture: overall body fat, consistency, and how I was training.
Here’s what actually matters:
If your goal is “sexy summer arms,” you’re really working on two things at the same time:
- Building a little muscle in the arms (so they look shaped, not soft)
- Reducing overall body fat (so the muscle shows)
That means even walking more, improving your diet, and staying active daily plays a huge role—not just arm workouts.
Another thing I learned is that light weights done properly can be just as effective as heavy lifting.
It’s not about going extreme; it’s about control, repetition, and consistency over time.
So as you go into these 9 moves, don’t rush them. Focus on form, feel your muscles working, and stay consistent. That’s where real arm definition starts to show.
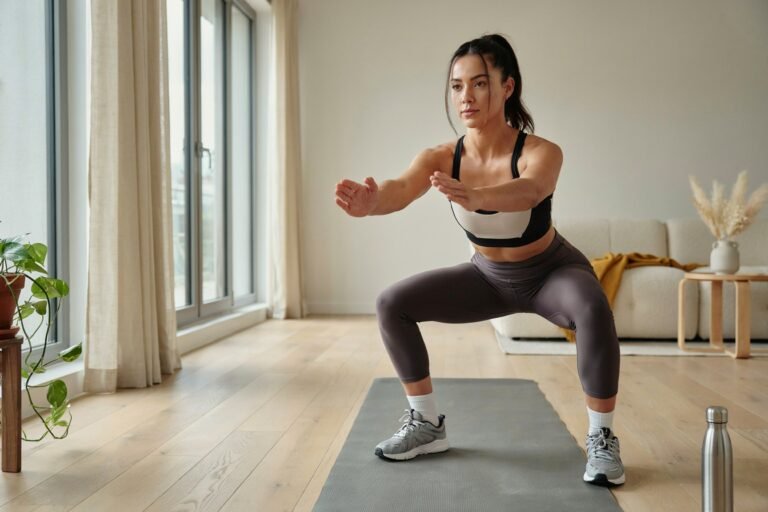
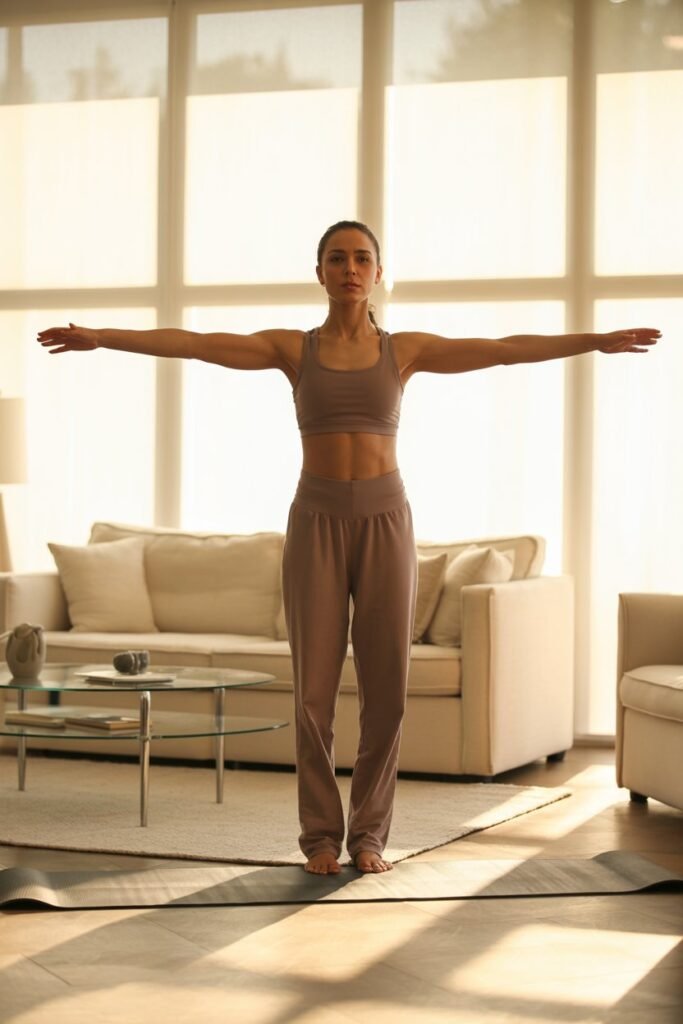
Move #1: Arm Circles (The Small Move That Made a Big Difference for My Arms)
I used to think arm circles were pointless — something you do quickly just to “get it over with.”
Once I slowed them down and did them with intention, I realized how much they actually shape the shoulders and upper arms.
This move became my non-negotiable start for every arm workout.
How I do arm circles:
- I stand tall with my chest open and core gently engaged.
- Arms are extended out to the sides at shoulder height.
- I make small, controlled circles, focusing on muscle engagement rather than speed.
- I do 20–30 circles forward, then 20–30 backward.
About halfway through, I always feel a deep, steady burn — especially in the shoulders. That’s when I know I’m doing it right.
Why this move works for summer arms:
Arm circles activate the deltoids and upper arm muscles, helping create that lifted, rounded shoulder look that makes arms appear slimmer and more toned.
Personal tip: I often do arm circles in short bursts throughout the day — while waiting for water to boil or standing in line.
It keeps my shoulders engaged and makes my arms feel firm even on days I don’t do a full workout.
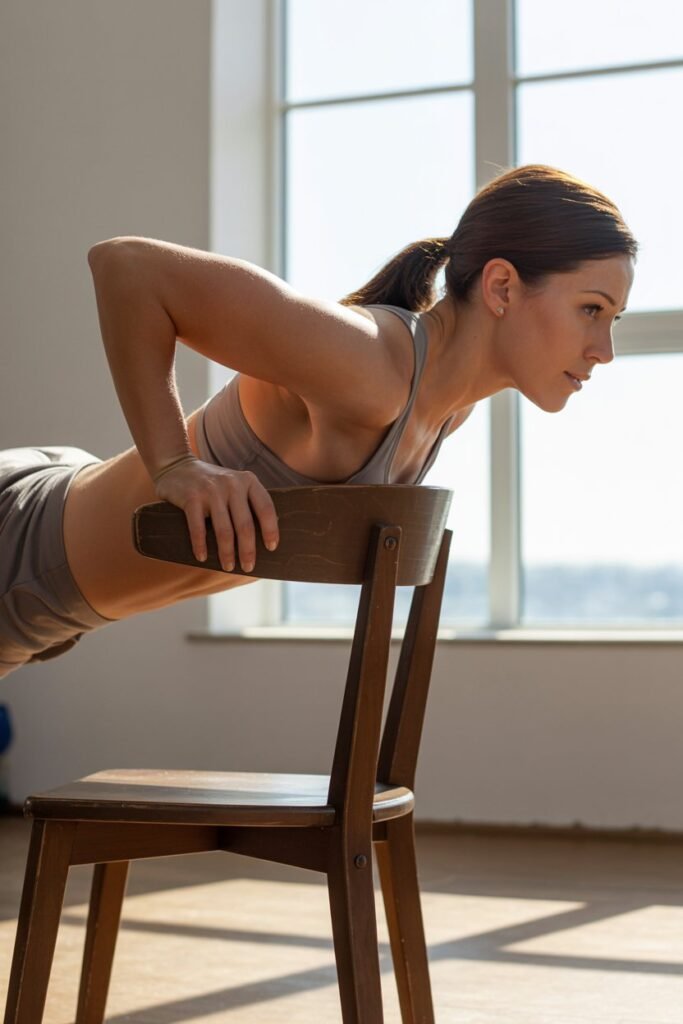
Move #2: Tricep Dips (The Move That Tightened the Back of My Arms)
If there’s one area that made me most self-conscious in sleeveless tops, it was the back of my arms.
I tried everything — endless reps, random exercises — but nothing really changed until I started doing tricep dips with proper form and patience.
This move became a game-changer for me because it directly targets the triceps, which are responsible for that smooth, firm look in summer tops.
How I do tricep dips at home:
- I use a sturdy chair or the edge of my couch.
- Hands placed shoulder-width apart, fingers facing forward.
- I walk my feet slightly forward and bend my elbows slowly.
- I lower myself just until my arms form about a 90-degree angle, then push back up.
I aim for 10–12 controlled reps, resting, then repeating for 2–3 sets. Going slow made all the difference — rushing through this move never worked for me.
What I learned the hard way:
- Locking my elbows caused unnecessary strain — keeping a soft bend protects the joints.
- Lowering too deep stressed my shoulders. Shallow, controlled dips were more effective and safer.
Personal experience tip: On days my arms feel tired, I bend my knees instead of keeping my legs straight. It still works the triceps without overloading them — perfect for staying consistent without burnout.
Related Arm Toning Workouts
- 7-Day Flabby Arm Challenge
- 100% Guaranteed Arm Flap Workout Update: Slim & Tone Your Arms at Home
- Arm Toning Workouts
- 11 Resistance Band Exercises For Arms — My Daily Routine
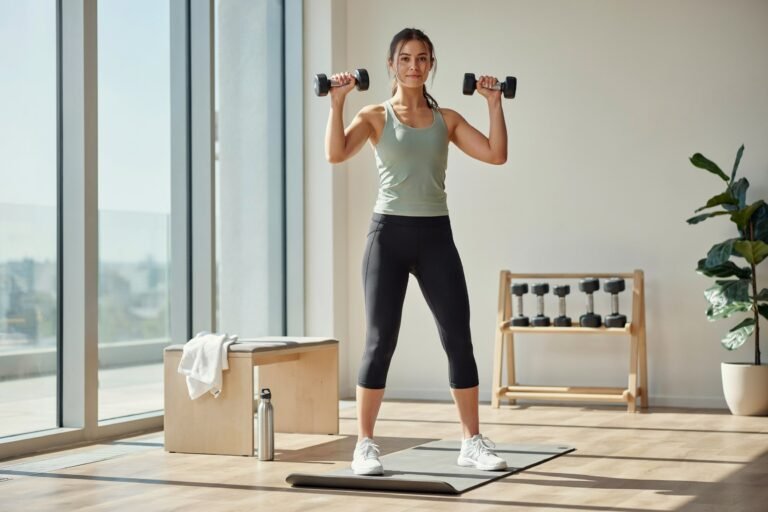
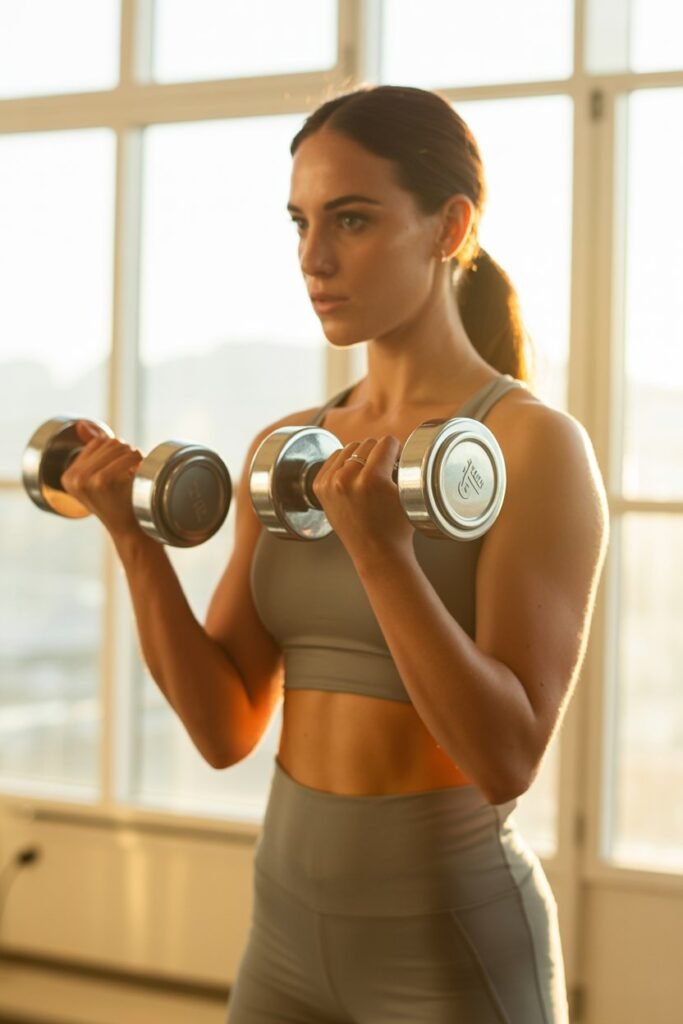
Move #3: Bicep Curls (The Simple Move That Gave My Arms Shape)
This is one of those classic exercises I thought I was doing right for years — until I realized I was rushing through it and letting momentum do all the work.
Once I slowed down and focused on form, bicep curls completely changed the shape of my arms, especially in sleeveless tops.
How I do bicep curls:
- I hold a pair of light dumbbells (or water bottles when I’m at home).
- Arms down by my sides, palms facing forward.
- I curl the weights up slowly, squeezing my biceps at the top.
- I lower them back down just as slowly — this part matters more than people think.
I usually do 12–15 reps for 2–3 sets, resting briefly in between. The slow lowering phase is what really made my arms look firmer over time.
What made the biggest difference for me:
- Keeping my elbows close to my body instead of letting them swing forward
- Standing tall instead of leaning back
- Using lighter weights but staying fully in control
Personal experience tip: On days when my arms feel tired, I alternate arms instead of curling both at once. It keeps the movement clean and helps me stay consistent without skipping the workout entirely.
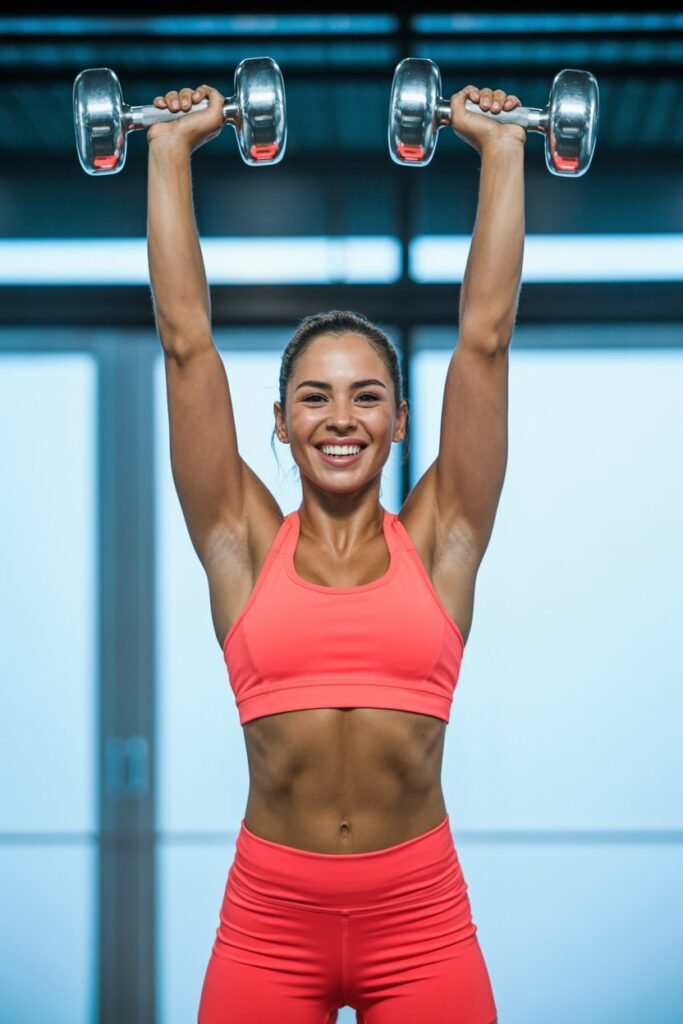
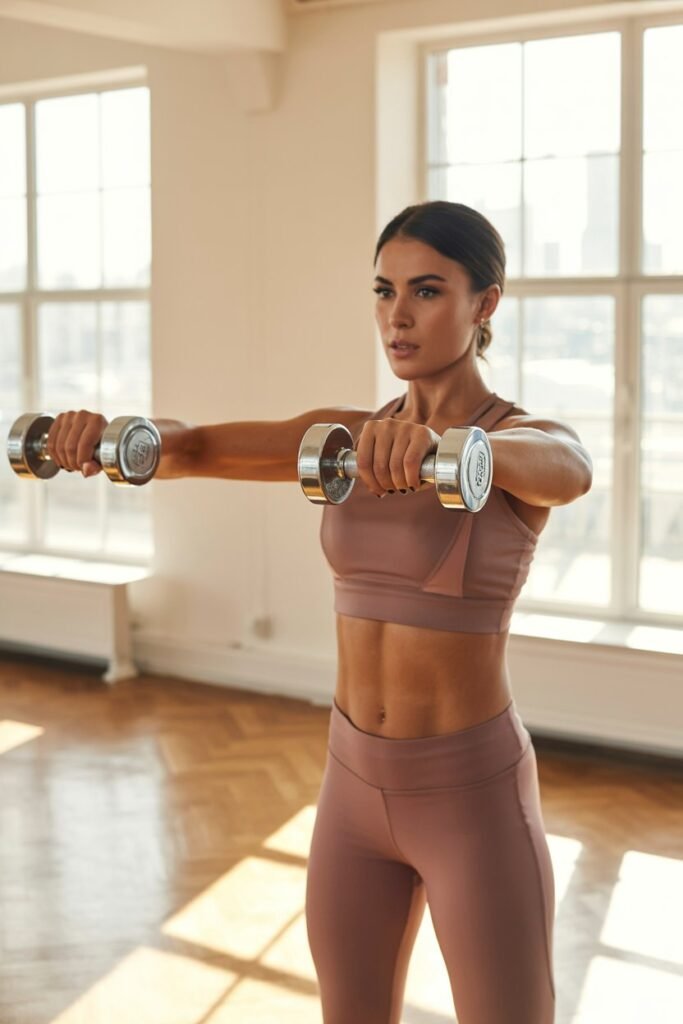
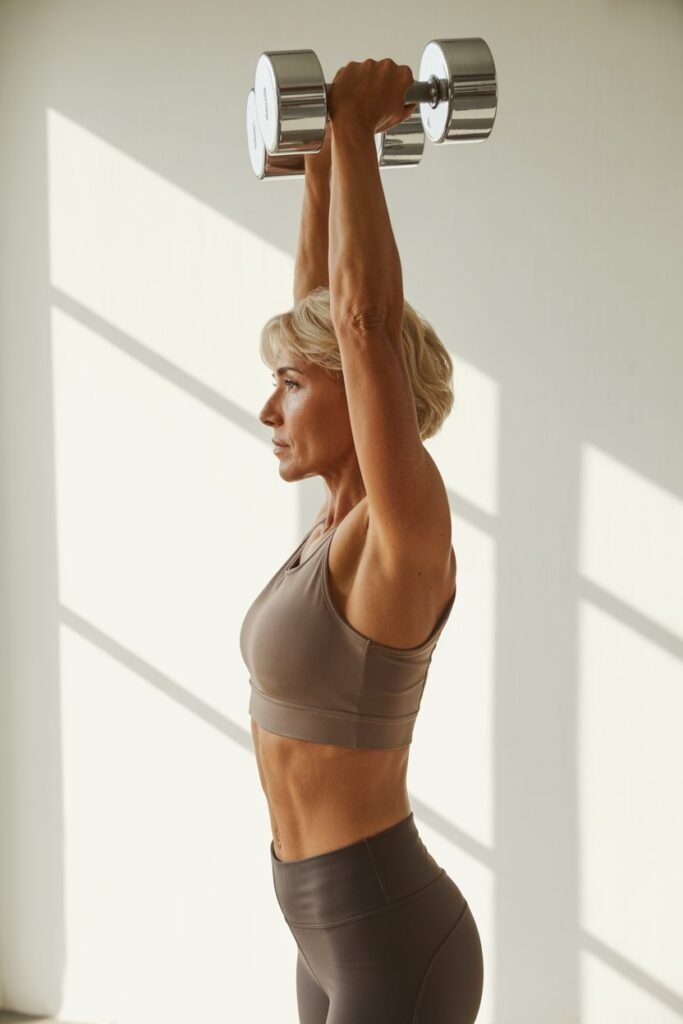
Move #4: Overhead Press (The Move That Lifted My Shoulders and Arms)
If there’s one move that transformed my upper arms and shoulders, it’s the overhead press.
At first, I avoided it because I worried about straining my shoulders.
But once I learned proper form, it became one of my favorite moves for creating long, toned arms.
How I do the overhead press:
- I hold a pair of light to medium dumbbells at shoulder height, palms facing forward.
- I press the weights straight up overhead until my arms are fully extended, then slowly lower back to shoulder height.
- I focus on controlled movement rather than heavy weight — quality beats quantity.
I usually do 10–12 reps for 2–3 sets. When done right, my shoulders and upper arms feel energized but not sore in a bad way.
Tips I learned from experience:
- Never lock your elbows at the top — a soft bend keeps the joint safe.
- Keep your core engaged and feet firmly on the floor to protect your back.
- Breathing matters: exhale on the press, inhale on the way down.
Personal tip: I sometimes do a lighter version during commercial breaks — just a few reps — and it adds up surprisingly fast over the week.
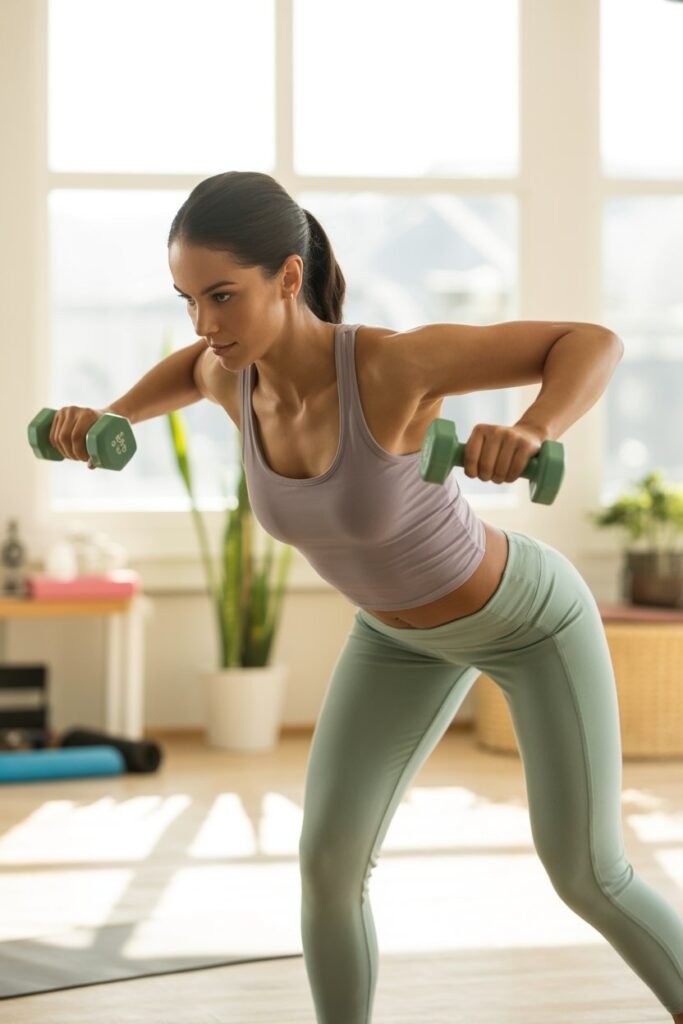
Move #5: Tricep Kickbacks (The Move That Firmed the Back of My Arms)
For me, nothing gave my arms that smooth, toned look like tricep kickbacks. I used to do endless pushups thinking they were enough, but the back of my arms stayed soft.
Once I added this move, I finally saw real definition.
How I do tricep kickbacks:
- I hold a light dumbbell in each hand.
- Hinge slightly at the waist, keeping my back flat and core engaged.
- Elbows bent at 90 degrees, I straighten my arms behind me, squeezing the triceps at the top.
- I lower back slowly, staying in control.
I aim for 12–15 reps, 2–3 sets. It burns more than it looks, especially if you go slow and focus on the squeeze.
What I learned the hard way:
- Swinging the weights makes it useless — control is everything.
- Leaning too far forward strains the back; keeping a slight hinge is safer.
Personal tip: I like doing this while listening to music or a podcast — it turns a simple move into a mini workout I actually enjoy.
Move #6: Lateral Raises (The Move That Sculpted My Shoulders)
If I wanted my arms to look lifted and strong in sleeveless tops, lateral raises became a must-do.
At first, I avoided them because my shoulders got tired quickly, but the results were worth it — my arms looked longer and more defined.
How I do lateral raises:
- I hold light dumbbells in each hand, arms at my sides, palms facing inward.
- I lift my arms out to the sides until they reach shoulder height, keeping a slight bend in the elbows.
- I lower them back down slowly and with control.
I usually do 10–12 reps, 2–3 sets. The key is slow, steady movements — fast lifts just bounce the weight and don’t work the muscles.
Lessons from my experience:
- Don’t go heavier than you can control — small weights give better shape.
- Keep your core engaged to avoid arching your back.
Personal tip: I sometimes combine lateral raises with arm circles as a mini shoulder circuit — it’s quick, effective, and really wakes up the upper arms before summer outings.
Move #7: Push-Ups (The Classic Move That Strengthens Arms and Chest)

Push-ups are a classic for a reason — they hit multiple muscles in your arms, shoulders, and chest, helping create that lean, toned look.
I used to shy away from them, thinking they were too intense, but with modifications, they became one of my go-to moves for summer arms.
How I do push-ups safely and effectively:
- Modified version: I start on my knees instead of my toes to reduce strain.
- Hands are shoulder-width apart, fingers spread for stability.
- I lower my chest slowly toward the floor while keeping elbows at about a 45-degree angle from my body.
- I push back up, keeping core engaged and back flat.
Reps & Sets:
- I do 8–12 reps, 2–3 sets, depending on how strong my arms feel that day.
- Over time, I gradually progress to full push-ups on my toes as my strength improves.
Why this move works:
Push-ups target the triceps, shoulders, and chest simultaneously, which not only tones the arms but also improves overall upper-body strength.
Strong arms make summer clothes fit better and make daily tasks easier — lifting kids, carrying groceries, or even holding a beach bag feels lighter.
Tips from my experience:
- Proper form is everything — don’t rush. Slower push-ups work better than more reps with bad form.
- Engage your core to prevent sagging in your lower back.
- Breath control matters: inhale going down, exhale pushing up.
Personal tip: I often do a mini push-up set before my morning coffee — it wakes me up and keeps my arms feeling strong all day.
Move #8: Plank to Shoulder Tap (The Move That Strengthens Arms and Core Together)

If you want arms that look sculpted while also improving stability and core strength, this move is a game-changer.
I started doing plank to shoulder taps a few months ago, and not only did my arms get firmer, but my shoulders and abs felt stronger too.
How I do plank to shoulder taps:
- I start in a high plank position, hands under shoulders, body in a straight line from head to heels.
- Keeping my core tight and hips as stable as possible, I lift one hand to tap the opposite shoulder, then return it to the floor.
- Alternate sides slowly, focusing on controlled movements instead of rushing.
Reps & Sets:
- I aim for 10–12 taps per side, 2–3 sets.
- If hips start swaying too much, I pause and reset — form matters more than speed.
Why this move works:
- It targets the shoulders and triceps through stabilization.
- Your arms have to work constantly to keep your body balanced, which increases strength and tone.
- Bonus: it also engages your core, which helps improve posture and overall arm definition.
Tips from my experience:
- Avoid letting your hips sag — it can strain your lower back.
- Go slower if necessary; controlled taps beat fast ones every time.
- Use a mat or soft surface for comfort, especially on knees and wrists.
Personal tip: I like to combine this with my push-ups in a quick circuit — 10 push-ups, 10 taps per side, repeat twice. It’s just 5 minutes, but my arms feel stronger instantly.
Move #9: Overhead Tricep Extension (The Move That Gives Your Arms That Smooth, Defined Back)
The final move in my summer arms routine is the overhead tricep extension.
If you’ve ever looked at your arms from the side and wished the back of your upper arms were firmer, this move is a must.
I noticed a huge difference in my triceps definition once I started doing this regularly.
How I do overhead tricep extensions:
- I hold a single dumbbell (or a water bottle if at home) with both hands.
- I raise it overhead, keeping elbows close to my ears.
- Slowly, I bend my elbows to lower the weight behind my head, then extend back up.
- I keep my core engaged and avoid arching my back.
Reps & Sets:
- I do 10–12 slow reps, 2–3 sets.
- I start with a lighter weight to focus on form and gradually increase as my arms get stronger.
Why this move works:
- It isolates the triceps, giving your arms that firm, toned appearance.
- Helps balance the shoulder and bicep exercises, creating overall arm symmetry.
- Strengthens muscles that improve posture and make sleeveless tops look amazing.
Tips from my experience:
- Go slow — the lowering phase is where the muscle is really working.
- Keep elbows steady; don’t let them flare out to the sides.
- Engage your core the entire time to protect your lower back.
Personal tip: I often do this move at the end of my arm workout as a finisher. Even 2–3 minutes focused on slow, controlled reps leaves my arms feeling sculpted and strong.
FAQ: 9 Moves for Sexy Summer Arms
1. How long does it take to see toned arms?
Most people start noticing changes in 3–6 weeks with consistent workouts and proper nutrition.
2. Do I need heavy weights to tone my arms?
No. Light to moderate weights with proper form can be very effective for toning.
3. Can I get toned arms without going to the gym?
Yes. Bodyweight exercises and light dumbbells at home can work well.
4. Why are my arms not getting smaller even after workouts?
It may be due to overall body fat, inconsistent training, or diet not being aligned with your goals.
5. How often should I train my arms?
2–4 times per week is enough. Muscles also need rest to grow and tighten.
6. Will arm exercises reduce arm fat only?
No. Spot reduction isn’t possible. Fat loss happens across the whole body.
7. What should I eat for lean arms?
Focus on lean protein, vegetables, fruits, healthy fats, and reduced processed foods.
8. Can walking help tone my arms?
Indirectly yes. Walking helps burn calories, which supports overall fat loss.
9. Do I need supplements for toned arms?
No. Supplements are optional. A balanced diet and consistent training are enough.
Wrap-Up: Your Sexy Summer Arms Routine

Looking back, the secret to arms that look firm, lifted, and confident in summer isn’t about spending hours at the gym or using heavy weights.
It’s about choosing the right moves, doing them with control, and staying consistent — even if it’s just 15–20 minutes a few times a week.
Here’s my personal takeaways from this routine:
- Start Small, Stay Consistent – Doing 9 moves like these just 2–3 times a week made my arms look noticeably firmer over a few weeks.
- Focus on Form, Not Speed – Slow, controlled movements always gave better results than rushing through reps.
- Mix Strength and Daily Movement – I combined these exercises with small habits: arm circles while cooking, push-ups during morning coffee, or gentle stretches while watching TV. Those tiny bursts add up.
- Mindset Matters – Instead of worrying about perfection, I focused on progress. Celebrating small wins kept me motivated and consistent.
- Listen to Your Body – I adjusted weights, reps, and modifications depending on how my arms and shoulders felt. Safety first keeps you working out for years, not just days.
Personal tip: I make this routine fun — I play my favorite playlist or podcast, and sometimes challenge myself to improve reps week by week.
It makes my arms feel strong and gives me a confidence boost that carries into the whole day.
By combining these 9 moves with mindful daily habits and patience, your arms can look toned, firm, and ready for sleeveless summer outfits — all while staying safe and feeling strong.