I didn’t start working on my thighs because I wanted “perfect legs.”
I started because my jeans felt tighter, my legs tired out faster, and I honestly felt uncomfortable in my own body some days.
I tried copying random workouts online, jumping from one routine to another, and pushing myself too hard — and all that did was leave me sore and discouraged.
What actually helped was stripping things back. I stopped chasing extreme workouts and focused on simple leg exercises I could understand, feel, and repeat.
The kind of moves you can do at home, in a small space, without equipment, and without feeling lost halfway through.
Once I did that, my thighs started feeling stronger, more supported, and yes — more toned — in a way that felt realistic and sustainable.
This post is written for anyone who doesn’t want to struggle through workouts or guess what they’re doing.
I’m breaking everything down the way I wish someone had explained it to me: what to do, how to do it, and what to focus on so you don’t waste your time or hurt your knees.
No rushing, no pressure, no “push through the pain” talk.
If you’re showing up tired, busy, or unsure where to start, you’re in the right place.
These are the leg exercises that helped me build strength and shape in my thighs without making fitness feel overwhelming.
Disclaimer: This post contains affiliate links. If you make a purchase through these links, we may earn a small commission at no extra cost to you.
Amazon Shopping List: Leg Toning Essentials
- Resistance Bands Set
Perfect for squats, side steps, and glute bridges—adds extra resistance without weights.
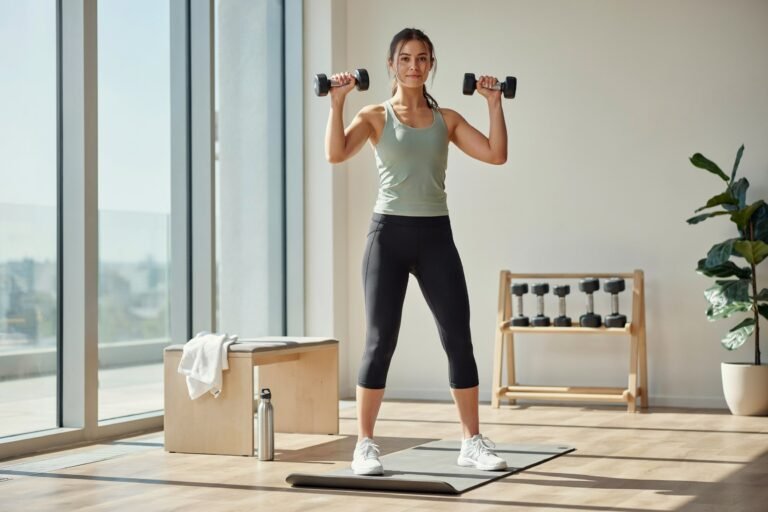
BUY NOW ON AMAZON - Adjustable Dumbbells (5–20 lbs)
Ideal for lunges, step-ups, and Bulgarian split squats to strengthen and tone thighs.
BUY NOW ON AMAZON - Mini Loop Bands
Great for inner and outer thigh exercises, targeting hard-to-reach muscles effectively.
BUY NOW ON AMAZON - Kettlebell (8–15 lbs)
Use for goblet squats, deadlifts, and swings to sculpt thighs and glutes.
BUY NOW ON AMAZON - Exercise Mat
Provides comfort and support for floor exercises like leg lifts and glute bridges.
BUY NOW ON AMAZON
Before We Get Into the Exercises: What You Need to be aware of

Before jumping into the 10 leg exercises, it’s important to understand something simple but powerful—toning your thighs is not just about doing leg workouts.
It’s about building strength in your muscles while also reducing overall body fat through consistent movement and better daily habits.
When I first started focusing on my legs, I expected quick changes just from doing exercises. But what actually made the difference was consistency and balance.
The workouts helped shape my muscles, but my daily habits—like walking more, drinking enough water, and eating cleaner meals—helped reveal the results.
Your thighs are one of the largest muscle groups in your body, which means they respond well to training. But they also need time, patience, and repetition.
You won’t see changes overnight, but if you stay consistent, your legs will slowly start to feel stronger, firmer, and more defined.
Another important thing is form over speed. Especially as a beginner, doing each movement properly matters more than doing a lot of reps.
Slow, controlled movements activate the muscles better and help prevent injury.
So as you go into these exercises, don’t rush the process. Focus on feeling your muscles work, staying consistent, and building a routine you can actually stick with.
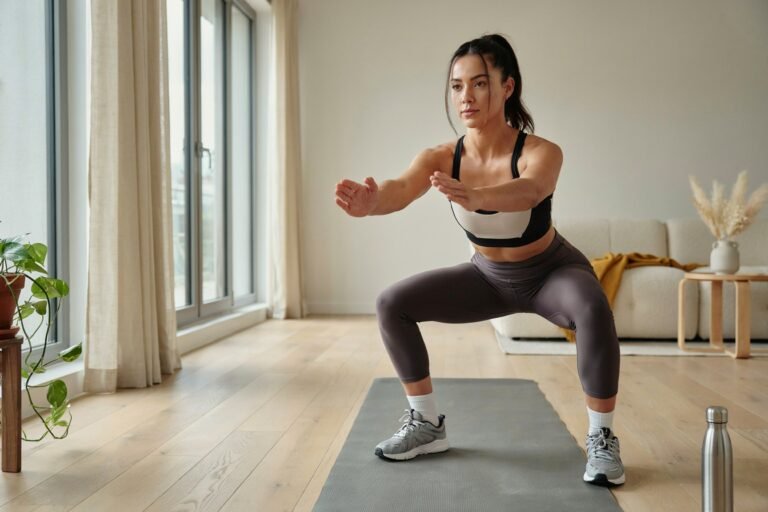
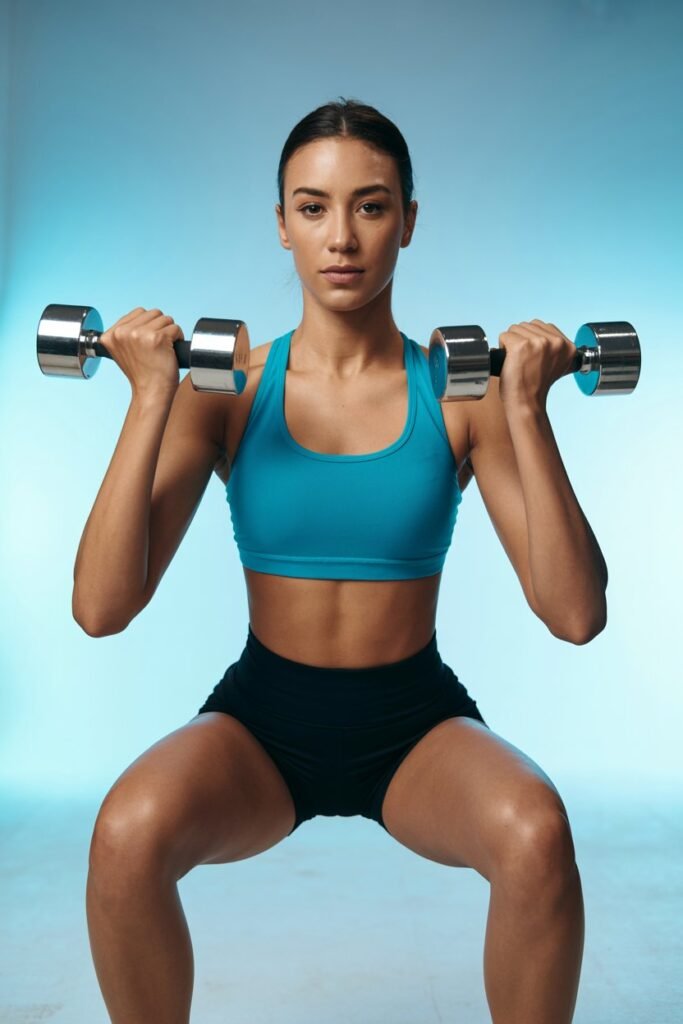
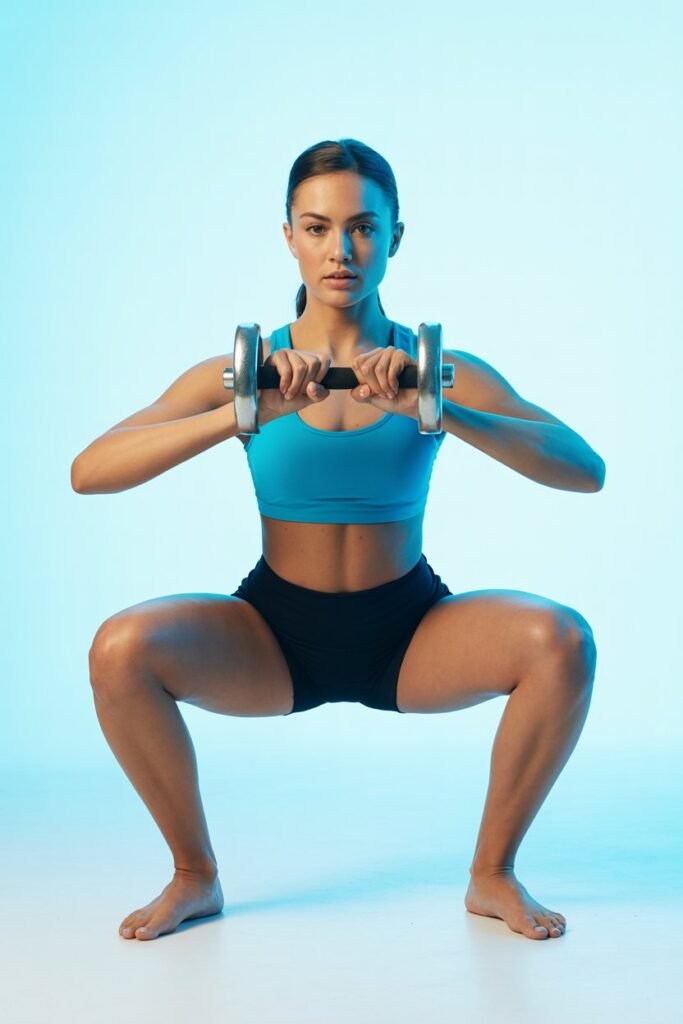
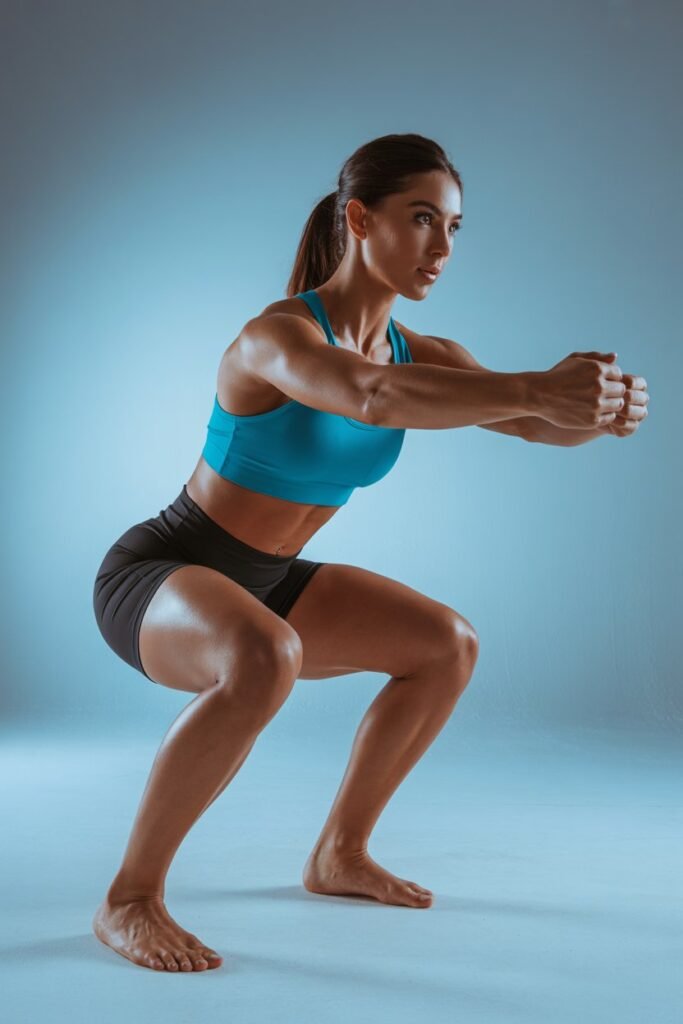
1. Squats (The One Exercise I Couldn’t Skip)
Let me tell you the truth — squats were the exercise I avoided the most at the beginning.
They felt awkward, my knees complained, and I never knew if I was doing them right.
But once I slowed down and fixed my form, squats became the move that changed my thighs the most.
Why squats actually tone your thighs:
Squats work your inner thighs, outer thighs, and glutes all at once.
When done correctly, they help tighten the entire upper leg instead of just burning it out.
How to do squats step by step (the beginner-safe way)
- Stand with your feet about shoulder-width apart
- Keep your chest lifted and eyes forward
- Push your hips back like you’re sitting on a chair
- Bend your knees slowly
- Lower only as far as feels comfortable
- Press through your heels to stand back up
What I focus on every single rep
- My knees don’t collapse inward
- My heels stay flat on the floor
- I move slowly, especially on the way down
Personal tip that helped my thighs respond
I stopped counting reps fast. I focused on feeling my thighs working instead.
Even 8 slow, controlled squats did more for me than 20 rushed ones.
Beginner goal:
8–12 reps
2 rounds
Rest when needed — no shame in pausing
2. Reverse Lunges (The Move That Saved My Knees)

Forward lunges used to bother my knees a lot, and for a while I thought lunges just weren’t for me. Then I switched to reverse lunges, and everything changed.
They feel more controlled, more stable, and much easier on the joints while still working the thighs really well.
Why reverse lunges tone your thighs:
They focus heavily on your front thigh and glutes, while also engaging your inner and outer thighs for balance.
Because you step backward, there’s less stress on your knees.
How to do reverse lunges step by step
- Stand tall with feet hip-width apart
- Step one foot backward instead of forward
- Lower your body until both knees are bent
- Your front thigh should be close to parallel with the floor
- Push through the front heel to return to standing
- Switch legs
What I pay attention to
- I keep my torso upright, not leaning forward
- I move slowly going down
- I press through my front heel, not my toes
Personal tip from experience
If balance feels shaky at first, that’s normal. I held onto a chair or wall in the beginning, and it helped me focus on my thighs instead of worrying about falling.
Beginner goal:
6–10 reps per leg
2 rounds
Rest between sides if needed
Related Leg & Lower Body Workouts
- 10-Minute Thigh Exercise
- How To Get Slimmer Thighs
- Top Tools to Tone Legs and Burn Thigh Fat — What Actually Worked for Me
- 7 Best Moves to Lose Hip Fat
- 8 Moves for a Round and Lifted Butt
3. Side Lunges (The Inner Thigh Wake-Up Call)

This was the exercise that made me realize how little attention my inner thighs were getting.
The first time I tried side lunges, I felt muscles I didn’t even know existed — not in a painful way, but in a “oh, this area is finally working” way.
Why side lunges tone your inner thighs:
Side lunges directly target the inner thighs while also strengthening your outer thighs and hips.
They help create balance and stability in your legs, which makes everyday movement feel easier.
How to do side lunges step by step
- Stand with feet wider than shoulder-width
- Shift your weight to one side
- Bend the knee of the side you’re moving toward
- Keep the opposite leg straight
- Push your hips back as you lower
- Push through your heel to return to the center
- Switch sides
What I focus on during each rep
- I keep my chest lifted
- I don’t rush the movement
- I let the inner thigh stretch and engage naturally
Personal tip that made this exercise easier
I stopped going super low. Once I allowed myself to move within a comfortable range, my form improved and my inner thighs felt the work much more clearly.
Beginner goal:
6–8 reps per side
2 rounds
Take your time switching sides
4. Glute Bridges (The Quiet Thigh Shaper)

This is one of those exercises that doesn’t look impressive, but it works — especially on days when I don’t feel like standing or my knees feel tired.
I used to think glute bridges were only for the butt, but once I started doing them slowly and correctly, I noticed my upper thighs and inner thighs tightening too.
Why glute bridges help tone your thighs:
Strong glutes support your thighs.
When your glutes activate properly, your thighs don’t overwork, and everything tightens more evenly.
How to do glute bridges step by step
- Lie on your back on the floor
- Bend your knees and place your feet flat on the ground
- Feet should be hip-width apart and close to your body
- Press through your heels and lift your hips
- Squeeze your glutes at the top
- Lower your hips slowly back down
What I focus on every time
- I don’t arch my lower back
- I keep my ribs down and core lightly engaged
- I lift with control, not momentum
Personal tip that made a difference
I added a 2–3 second pause at the top of each rep. That pause is where my thighs and glutes really started responding.
Beginner goal:
10–15 reps
2 rounds
Rest briefly between sets
5. Wall Sit (The Thigh Burner That Taught Me Patience)

Wall sits humbled me the first time I tried them.
There’s no jumping, no fancy movement, and yet my thighs started shaking way sooner than I expected.
This exercise taught me that you don’t have to move a lot for your thighs to work hard.
Why wall sits tone your thighs:
Wall sits keep your thigh muscles under constant tension.
That steady hold strengthens and firms the thighs without stressing the joints.
How to do wall sits step by step
- Stand with your back flat against a wall
- Walk your feet forward slightly
- Slide your body down until your thighs are parallel to the floor
- Knees should be stacked over your ankles
- Keep your back pressed into the wall
- Hold the position
What I focus on while holding
- I breathe slowly instead of holding my breath
- I keep my weight evenly distributed on both feet
- I relax my shoulders and jaw
Personal tip from real experience
I stopped comparing my hold time to anyone else.
I started at 20 seconds, rested, then added time gradually.
That consistency mattered more than pushing through pain.
Beginner goal:
20–40 seconds
2–3 rounds
Rest fully between holds
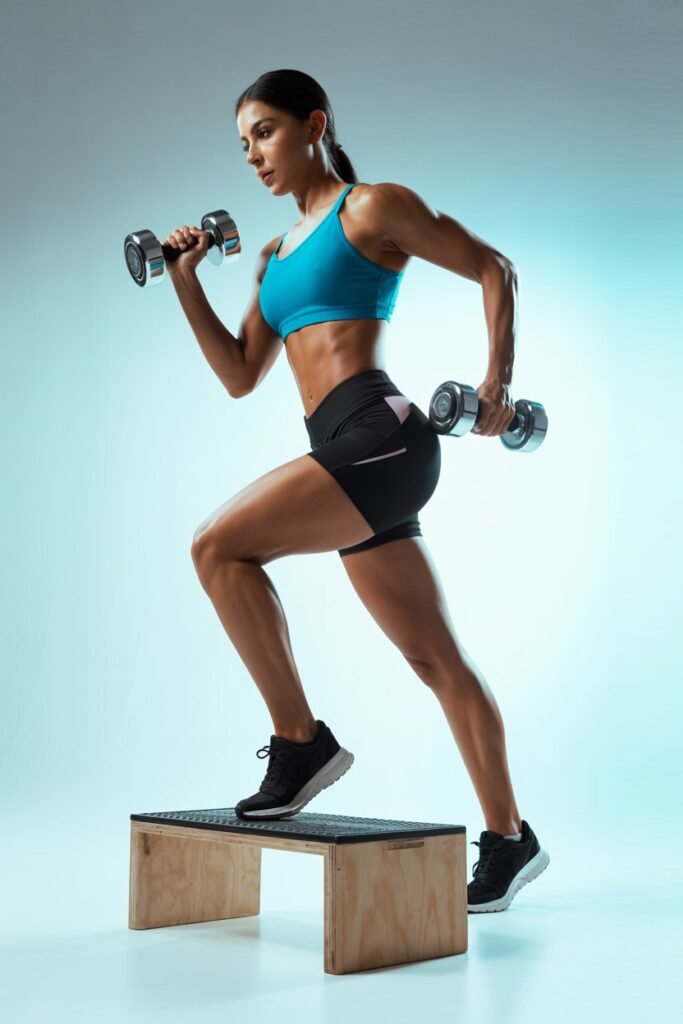
6. Step-Ups (The Everyday Movement That Really Tones)
This exercise surprised me the most because it doesn’t feel like a “workout” move — it feels like real life.
Stepping up onto something is something we already do every day, and once I started doing it with intention, I noticed my thighs getting stronger without that sore, beat-up feeling.
Why step-ups tone your thighs:
They work your front thighs, glutes, and inner thighs while improving balance and control.
Because each leg works on its own, it helps even things out if one side is weaker.
How to do step-ups step by step
- Use a sturdy chair, bench, or low step
- Place one foot fully on the step
- Press through your heel to lift your body up
- Bring the other foot up to stand tall
- Step back down slowly
- Switch legs
What I focus on every rep
- My whole foot stays on the step
- I don’t push off the bottom leg too much
- I move slowly on the way down
Personal tip that helped my thighs engage more
I stopped rushing the step-down. That slow lowering phase made my thighs work harder than stepping up fast ever did.
Beginner goal:
8–10 reps per leg
2 rounds
Rest between sides if needed
7. Sumo Squats (The Inner Thigh Game-Changer)
Sumo squats felt awkward to me at first. The wide stance, the turned-out toes — it all felt unnatural.
But once I gave myself time to adjust, this became one of the best exercises for inner thigh toning I’ve ever done.
Why sumo squats tone your thighs:
The wider stance shifts more work to your inner thighs, while still engaging your glutes and outer thighs for support.
How to do sumo squats step by step
- Stand with feet wider than shoulder-width
- Turn your toes slightly outward
- Keep your chest lifted
- Push your hips back and lower down
- Knees track in the same direction as your toes
- Press through your heels to stand back up
What I focus on during the movement
- I keep my core lightly engaged
- I don’t let my knees cave inward
- I move slowly and controlled
Personal tip that made this exercise click
I imagined pushing the floor apart with my feet.
That cue helped my inner thighs activate immediately.
Beginner goal:
8–12 reps
2 rounds
Rest when needed
8. Curtsy Lunges (Outer Thigh & Hip Sculptor)

Curtsy lunges were a game-changer for me.
They look fancy, but they’re simple once you get the hang of them.
I noticed my outer thighs and hips feeling tighter after just a few sessions.
Why curtsy lunges tone your thighs:
They target the outer thighs and glutes in a way that regular lunges don’t.
They also improve balance, which makes everyday movements easier.
How to do curtsy lunges step by step
- Stand tall with feet hip-width apart
- Step one leg diagonally behind the other as if doing a curtsy
- Lower your body into a lunge
- Keep your chest lifted and core engaged
- Push through the front heel to return to standing
- Switch sides
What I focus on during reps
- I control the movement instead of rushing
- My front knee stays over the ankle, not leaning forward
- I engage my core to maintain balance
Personal tip that helped me
I started slow and didn’t worry about how low I went.
Small, controlled movements worked better than forcing a deep lunge.
Beginner goal:
6–10 reps per side
2 rounds
Rest if you feel unsteady
9. Leg Raises (Floor-Based Thigh Toner)

Leg raises were a lifesaver on days I felt sore or didn’t want to stand for a full workout.
They’re simple, low-impact, and really let you feel your thighs working without straining knees or back.
Why leg raises tone your thighs:
They target the outer and inner thighs and help build strength and stability, especially when done slowly and with focus.
How to do leg raises step by step
- Lie on your side on a mat
- Bend your bottom leg slightly for support
- Keep your top leg straight
- Lift the top leg slowly toward the ceiling
- Lower it back down with control
What I focus on
- I don’t let my leg drop quickly
- I keep my core engaged to protect my lower back
- Small lifts are enough — quality over quantity
Personal tip that helped me
I used to think bigger lifts = better results, but I noticed that slow, controlled reps worked my thighs more and reduced strain.
Beginner goal:
8–12 reps per side
2 rounds
Rest briefly between sides
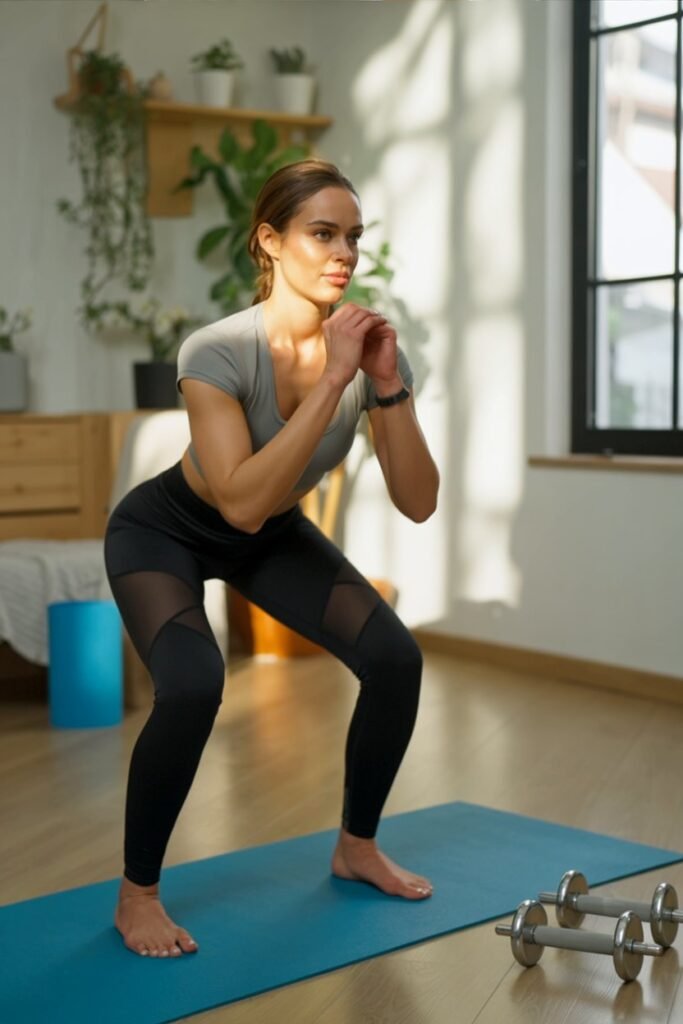
10. Bodyweight Squat Pulses (The Finisher That Burns)
This is my go-to finisher after a thigh workout. It looks easy, but staying low and pulsing keeps the muscles under constant tension.
My thighs always feel firmer after this move, even if I did all the other exercises slowly.
Why squat pulses tone your thighs:
They keep your inner, outer, and front thighs engaged the whole time, which helps build strength and definition without needing weights.
How to do squat pulses step by step
- Lower into a squat (like regular squats)
- Keep your heels flat on the floor
- Pulse up and down slightly — small movements, slow and controlled
- Breathe steadily
What I focus on
- I keep my chest up and core engaged
- I don’t bounce too fast
- I feel my thighs doing the work, not just my knees
Personal tip from my own experience
I usually use this as my last move, when my thighs are already warm.
Even 10–15 pulses feel challenging and effective.
Beginner goal:
10–15 pulses
2 rounds
Rest and recover
FAQ: 10 Best Leg Exercises to Tone Your Thighs
1. How long does it take to tone thighs?
Most beginners start noticing changes in 4–8 weeks with consistent workouts and proper nutrition.
2. Can I tone my thighs without going to the gym?
Yes. These exercises can be done at home with just body weight or light equipment.
3. How often should I train my legs?
2–4 times per week is ideal for beginners, with rest days in between.
4. Do leg exercises burn thigh fat only?
No. You cannot spot-reduce fat. These exercises help build muscle while overall fat loss reduces thigh size.
5. Do I need weights to tone my thighs?
No. Bodyweight exercises are very effective, especially for beginners.
6. Why are my thighs not changing even after exercise?
It could be due to inconsistency, diet, or not enough daily activity outside workouts.
Final Thoughts & Tips for Toned Thighs

Toning your thighs isn’t about punishing yourself with endless workouts or chasing perfection.
From my own experience, the key is consistency, control, and understanding which exercises actually target your thighs.
Here’s what helped me the most:
Personal Tips:
- Focus on form, not reps: Slow, controlled movements work better than rushing. I used to think faster was harder, but my thighs responded much more to quality reps.
- Mix it up: Do a combination of standing moves (squats, lunges) and floor moves (glute bridges, leg raises). Variety engages all parts of the thigh.
- Rest and recover: Your muscles need recovery to tone. I schedule a rest day or a lighter session every 2–3 days.
- Listen to your body: Discomfort is okay, pain is not. Adjust depth and range of motion if your knees or back feel off.
- Small daily wins count: Even 15–20 minutes a day made a huge difference over weeks. It’s consistency that shows results.
By following these exercises and tips, you can build stronger, firmer thighs in a way that feels realistic, safe, and even enjoyable.
I promise, it’s not about perfection — it’s about showing up and moving intentionally.